Decorating your living room can sometimes feel like a daunting task, especially when you’re on a budget. But here’s the great news—there are countless ways to add personal touches and transform your space without spending a fortune. In fact, DIY wall decor is one of the most creative and affordable ways to refresh your living room. Whether you’re looking to make a bold statement or add subtle accents, this guide will walk you through several budget-friendly DIY living room wall decor ideas that anyone can try.

I’ve gathered some of the best ideas that are not only cost-effective but also allow you to infuse your personality into your home. If you’re someone who loves a little DIY or wants to experiment with new crafts, this article will be your go-to guide for getting started.
Ready to get creative? Let’s dive in!
1. Painted Canvas Art: Affordable Creativity
One of the simplest ways to decorate your living room walls is by painting your own canvas art. You don’t need to be an experienced artist to create something beautiful—abstract art or simple patterns can make a huge impact.
Steps to Get Started:
- Grab a few blank canvases from your local craft store (they’re usually inexpensive).
- Choose a color palette that complements your living room decor.
- Use acrylic paints and experiment with geometric shapes, brush strokes or even splatter painting for an abstract feel.
If you’re thinking, “But I’m not an artist,” don’t worry! Start with simple designs—try painting vertical or horizontal stripes, or maybe even polka dots. It’s not about creating a masterpiece; it’s about adding a touch of your personal style to the room.
What color scheme are you thinking for your living room? Personally, I love mixing neutrals with a pop of vibrant color—it creates a cozy yet lively feel.
Ok let me show you some of the canvas, you can get an idea and create your own.
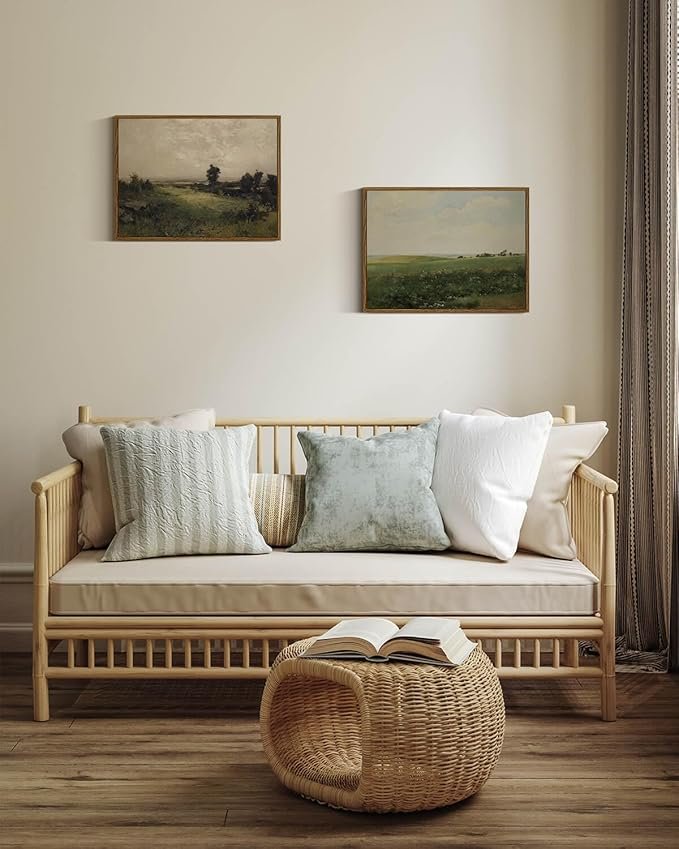
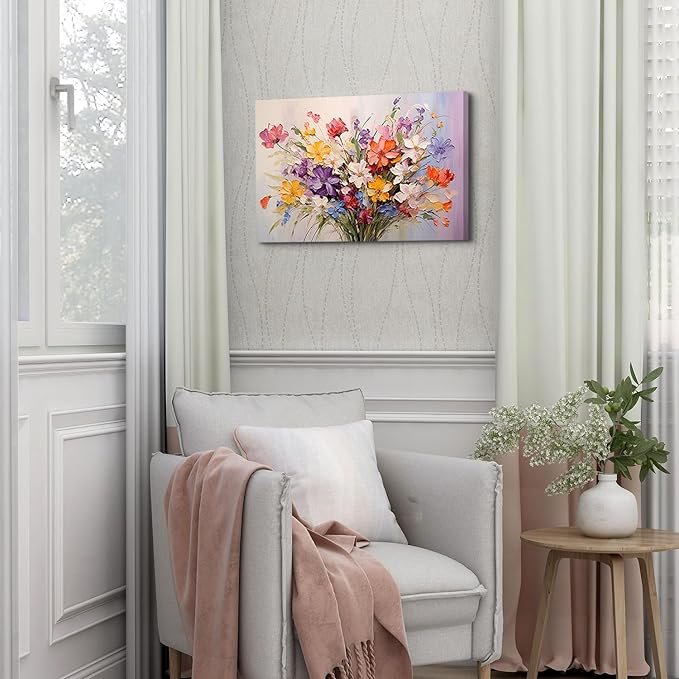
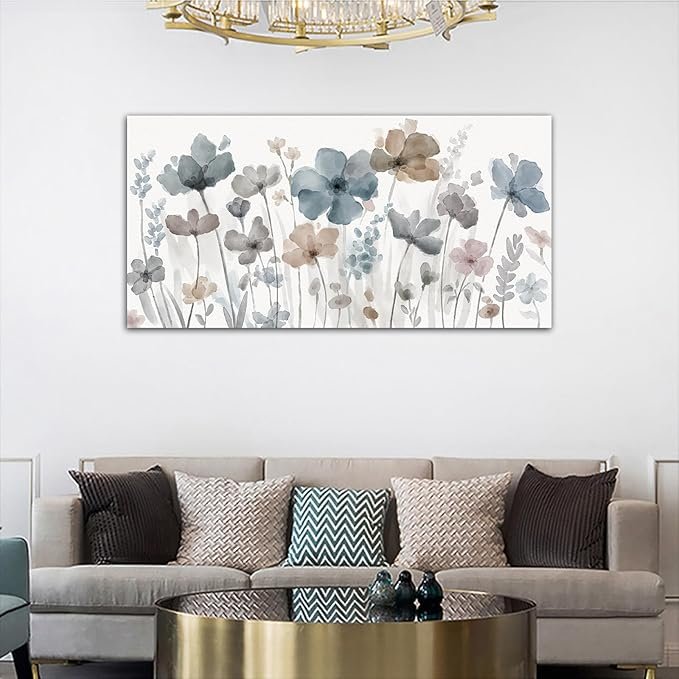
2. DIY Photo Gallery Wall: Cherish Memories
A photo gallery wall is a budget-friendly and sentimental way to decorate your living room. It allows you to showcase memories and loved ones while filling up your wall space beautifully. The best part is that you can customize it to match your style.
Here’s how you can create your own gallery wall:
- Step 1: Gather old photo frames that you already have or buy some cheap ones from thrift stores. You can also mix and match different frame sizes and shapes for an eclectic look.
- Step 2: Print out your favorite photos—whether they’re family portraits, vacation memories or even nature shots you’ve taken yourself.
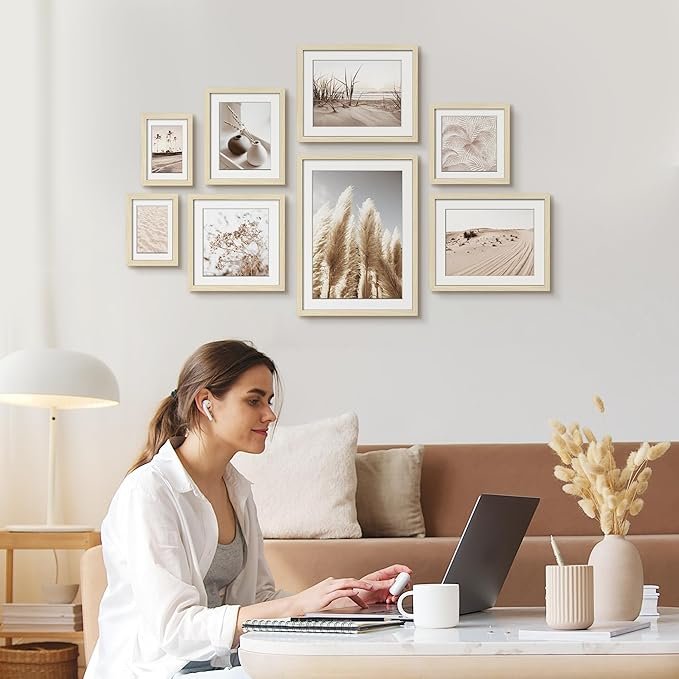
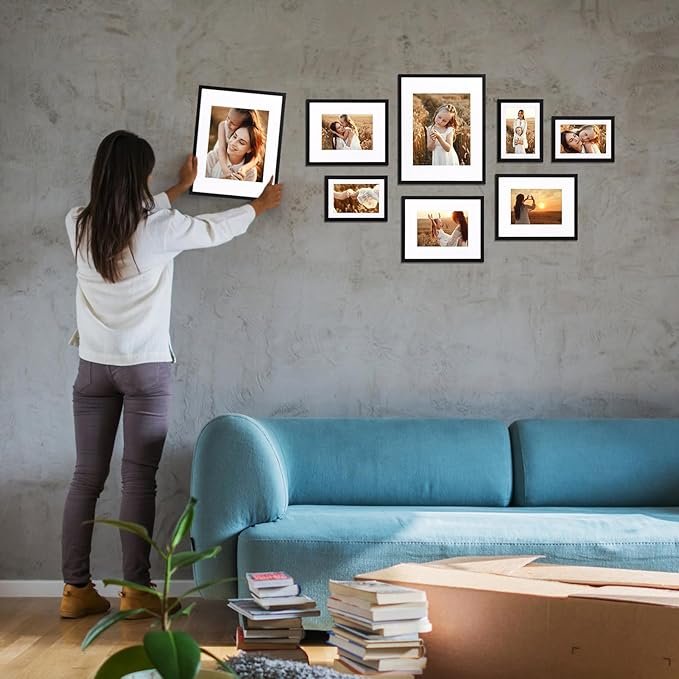
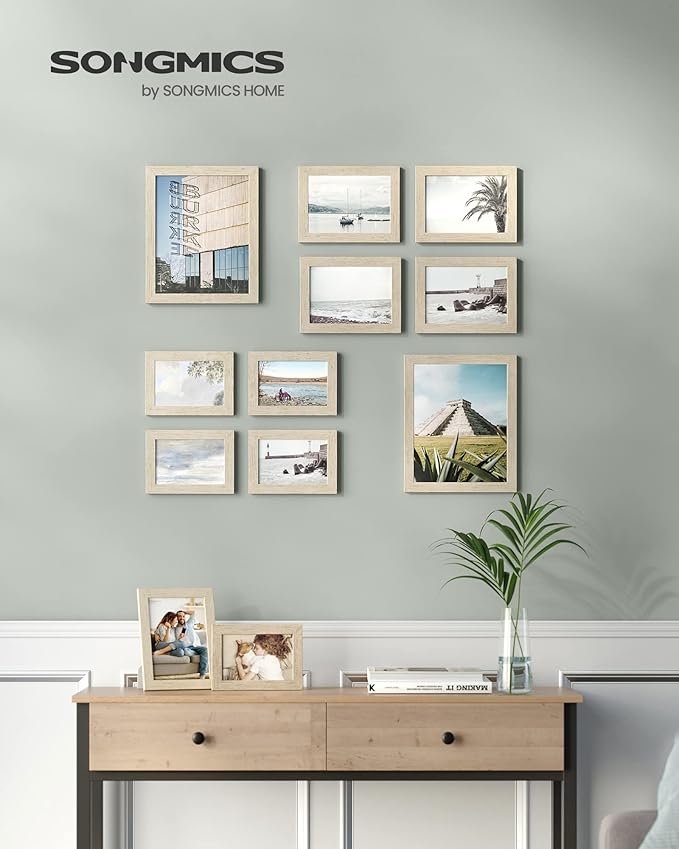
- Step 3: Lay out the frames on the floor first to plan your arrangement. Once you’re happy with the layout, start hanging them on the wall.
A tip for saving money: You can create your own frames with washi tape for a minimal and modern look. It’s inexpensive and gives you the flexibility to change it up later!
What’s your favorite memory that you’d love to see on your gallery wall? For me, it’s a picture from a beach vacation—every time I see it, it brings a smile to my face.
Here’s a showcase how you can position or arrange your frames on the wall.
3. DIY Wall Shelves: Function Meets Style
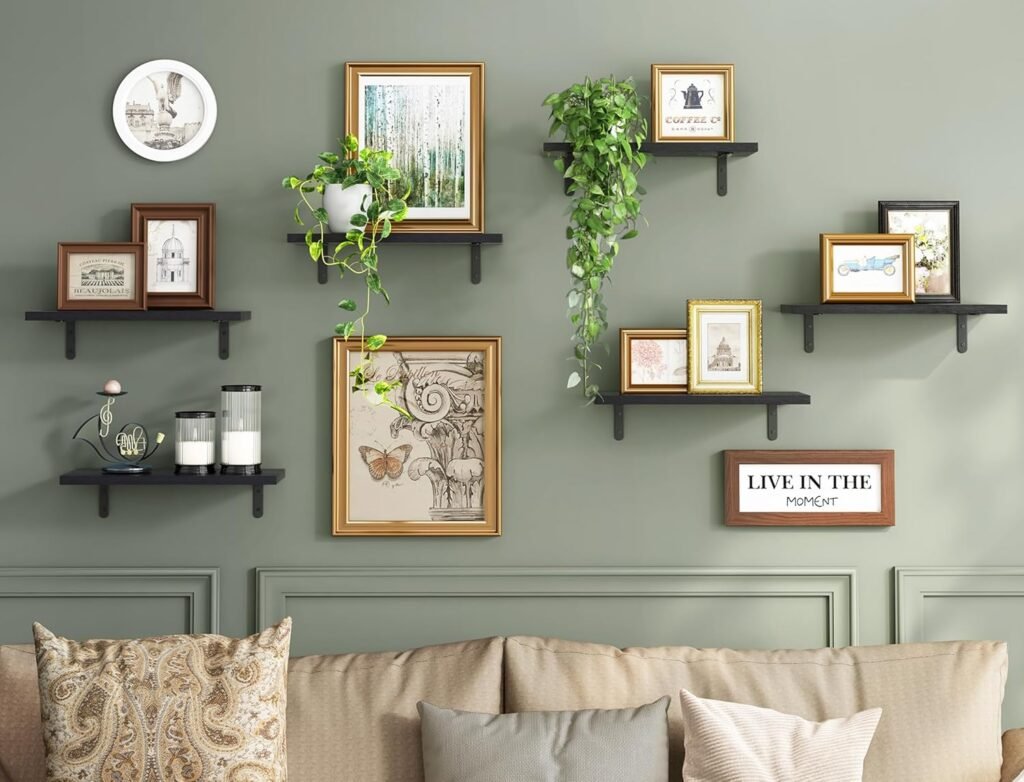
Wall shelves are not only practical, but they also offer a fantastic way to add decorative elements to your living room. The great thing about DIY shelves is that they can be made with very affordable materials, like wooden planks or even old crates.
Steps to Create Simple DIY Shelves:
- Step 1: Get a few wooden planks or old crates. If you want to save even more money, check out local garage sales or thrift stores for some reclaimed wood.
- Step 2: Paint or stain the wood to match your decor. You can leave it natural for a rustic look or paint it bold colors for a modern vibe.
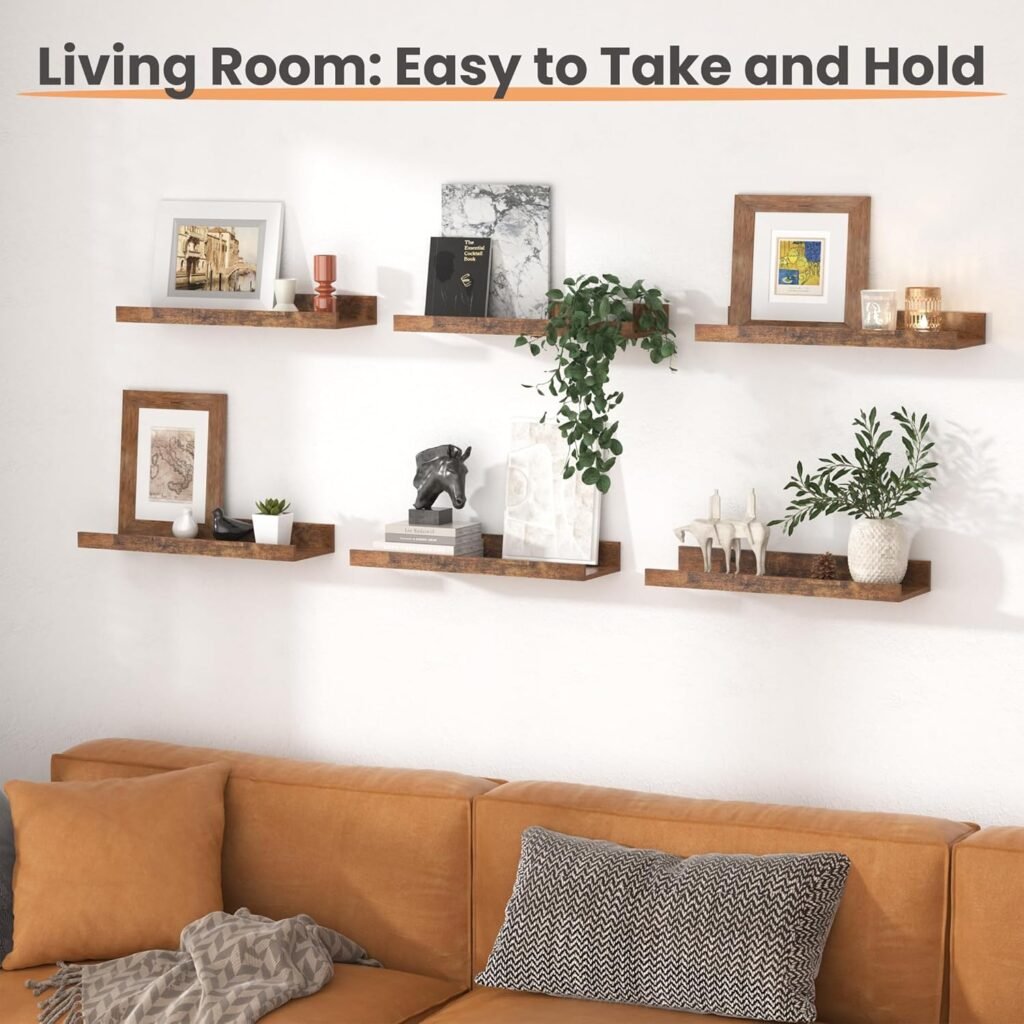
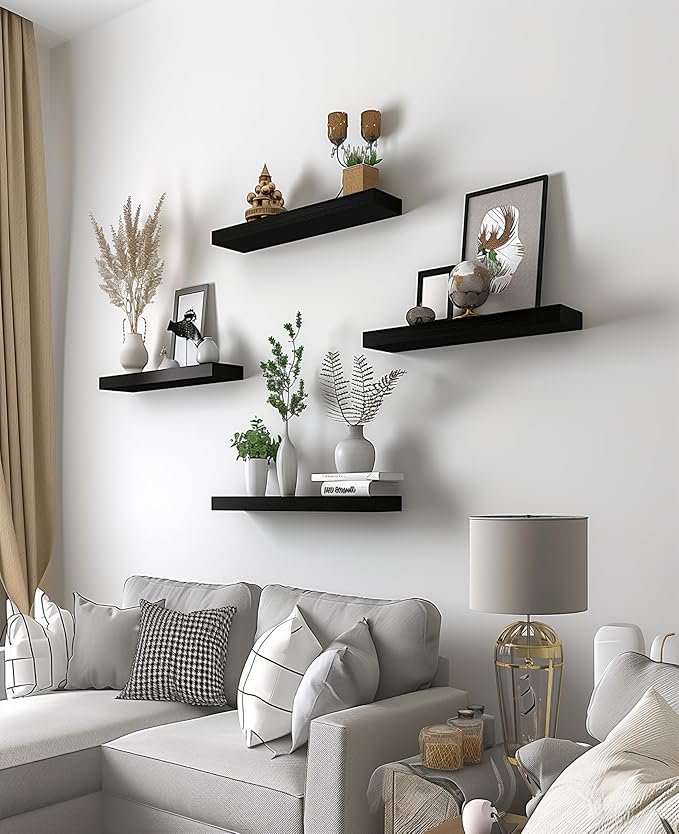
- Step 3: Install simple L-brackets on the wall and place the shelves on top. Arrange your decor pieces, like books, candles or small potted plants, on the shelves for a personal touch.
DIY wall shelves are versatile because you can adjust the size and placement to fit your wall space perfectly.
If you were to build these shelves, what items would you display? I think a mix of framed photos, succulents and a few vintage books would look stunning on them. Let’s have a look!
4. DIY Tapestry Wall Hanging: Add Texture
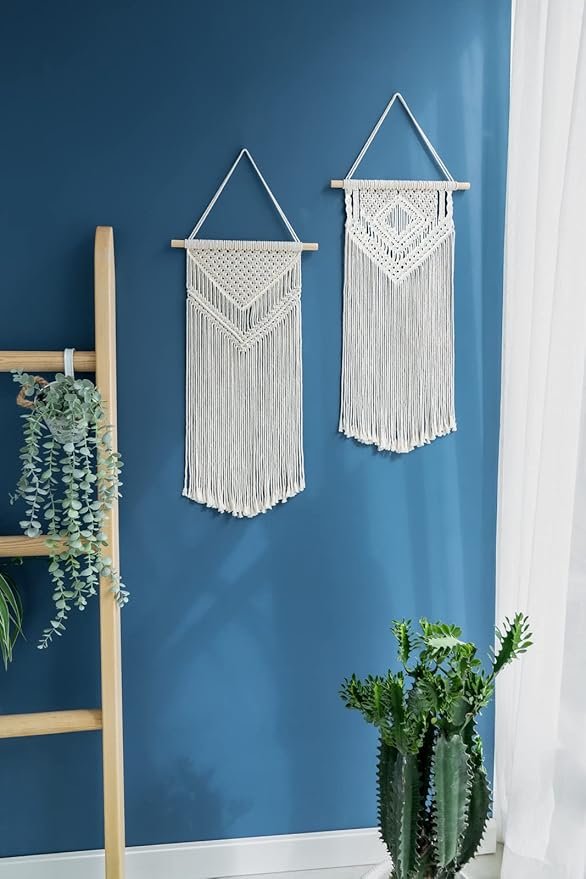
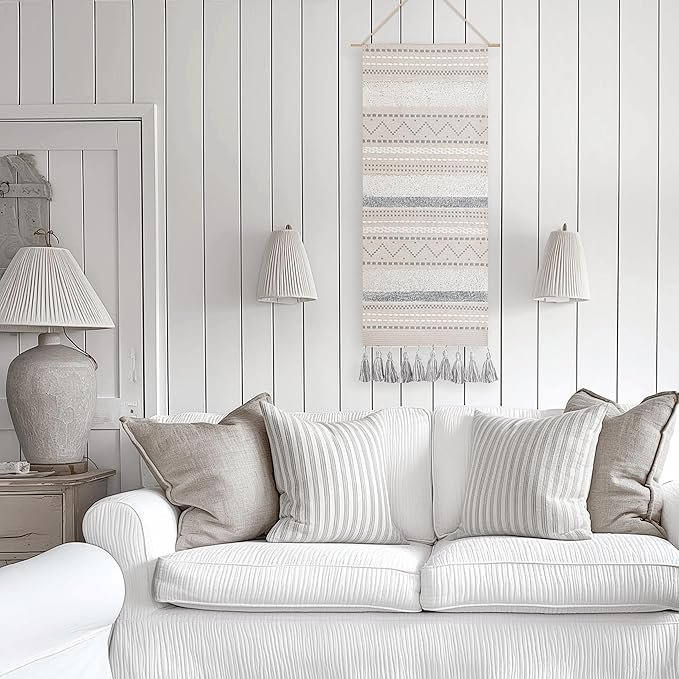
Another budget-friendly idea that adds warmth and texture to your living room is a DIY tapestry wall hanging. These are perfect if you’re into boho-chic or modern farmhouse styles and they’re super easy to make.
Here’s a quick guide:
- Materials: All you need is a piece of fabric, a wooden dowel and some yarn or twine.
- Step 1: Choose a fabric that complements your living room’s color palette. You can even use an old scarf or a piece of fabric from a thrift store.
- Step 2: Attach the fabric to the dowel using a hot glue gun or sewing it in place.
- Step 3: Hang the dowel on the wall using yarn or twine. You can add embellishments like tassels or pom-poms if you want to get really creative.
Tapestries not only soften up a space, but they also create a focal point in your living room without costing a fortune.
Are you a fan of adding textiles to your decor? I find that a well-placed tapestry can make a room feel much cozier.

5. Framed Quotes and Typography: Inspirational and Chic
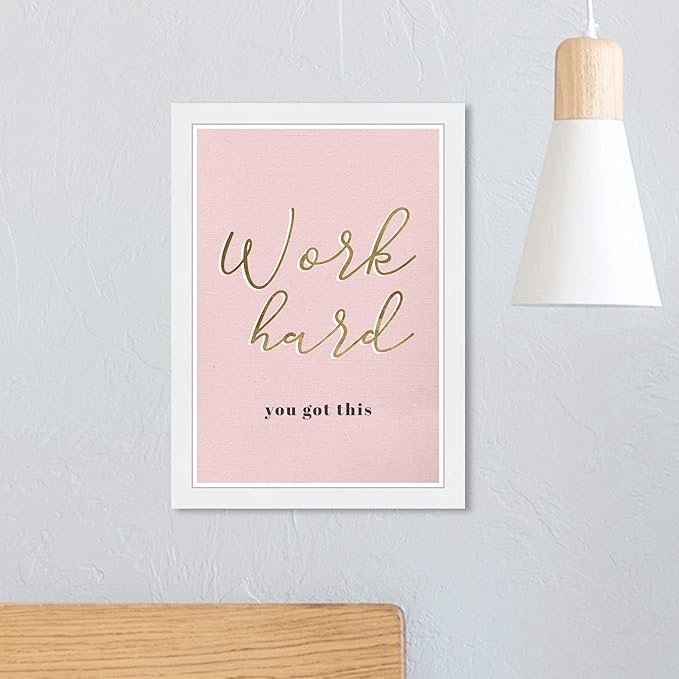
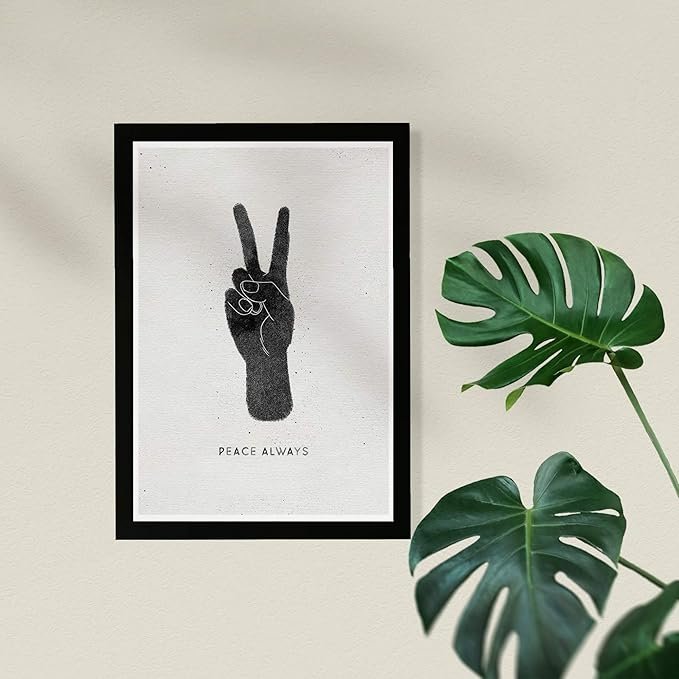
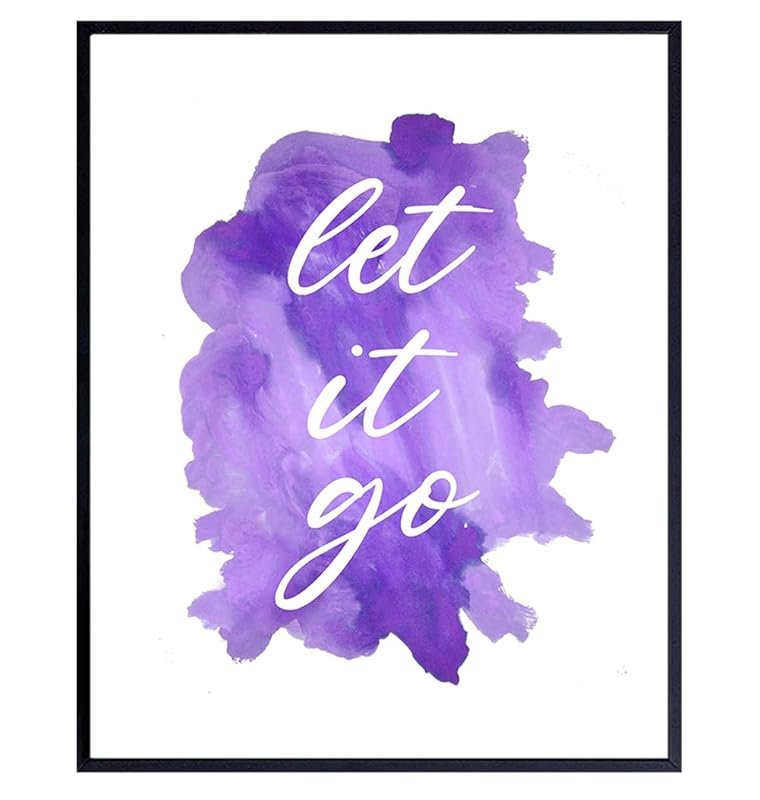
Framed quotes or typography prints are trendy, affordable, and easy to make. You can create meaningful art that speaks to you, whether it’s a favorite quote, a family mantra or even a single word that inspires you.
Here’s how to create your own framed quotes:
- Step 1: Use free design software like Canva to create your typography art. Choose a font that matches your style and type out your quote.
- Step 2: Print it out on good-quality paper.
- Step 3: Frame it in a simple or decorative frame and hang it on your wall.
You don’t have to spend money on expensive prints when you can make them yourself at home. Plus, having personal quotes around you will constantly inspire and motivate you.
What quote resonates with you the most? For me, it’s “Home is where love resides.” It reminds me every day of what really matters in my living space.
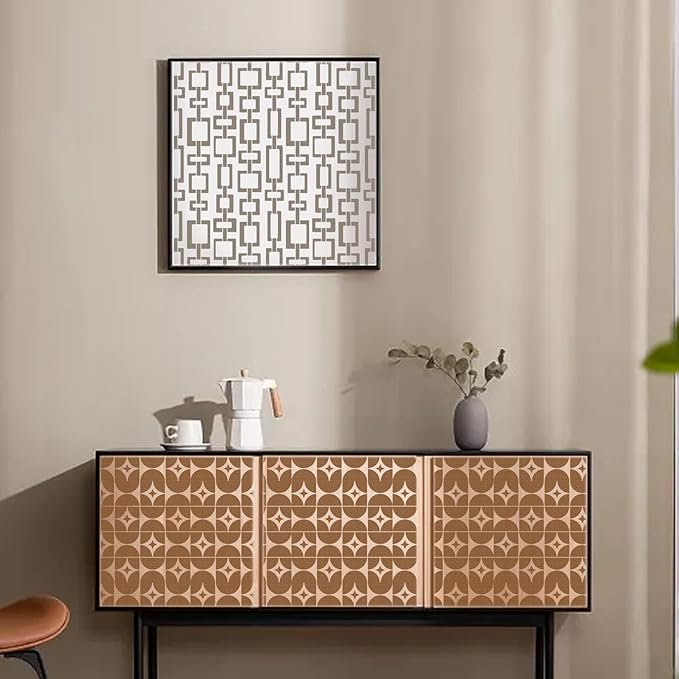
6. DIY Wall Stencils: Bold and Budget-Friendly
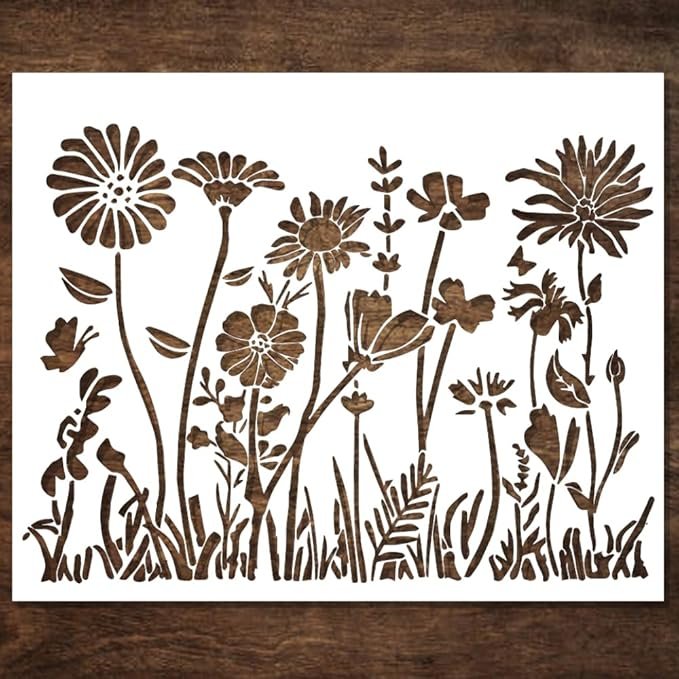
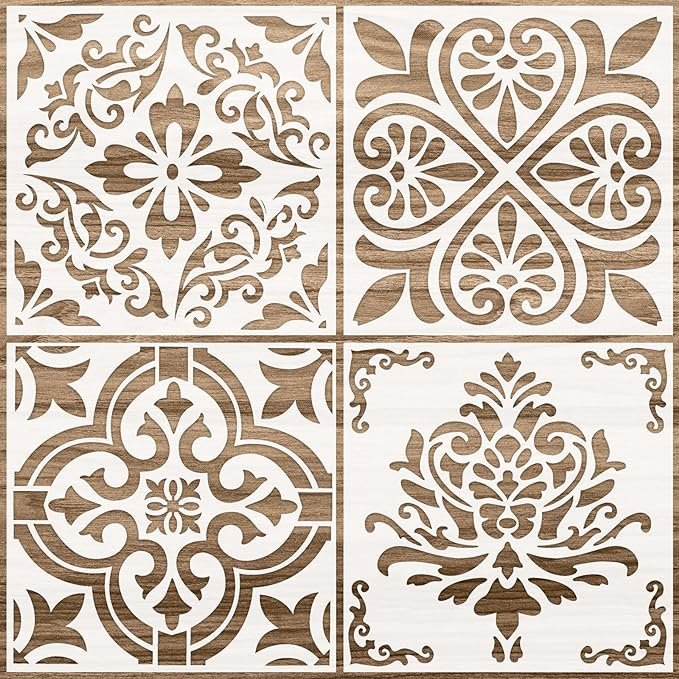
Wall stencils are a fantastic way to make a big impact without spending much money. If you’re feeling creative and want to add a unique design to your living room, stenciling is the way to go.
Steps to Stencil Your Wall:
- Step 1: Purchase or create your stencil design. You can find affordable stencils online or even make your own using cardstock and a utility knife.
- Step 2: Choose a wall paint color that contrasts well with your base wall color.
- Step 3: Tape the stencil onto the wall and use a sponge or roller to apply the paint. Make sure to blot the excess paint to avoid bleeding.
The result? A personalized, one-of-a-kind design that looks like it took a professional to complete!
What kind of design would you stencil onto your wall? I love geometric patterns because they give a room a modern and stylish edge without overpowering the space.
7. Repurposed Wood Art: Rustic and Reclaimed
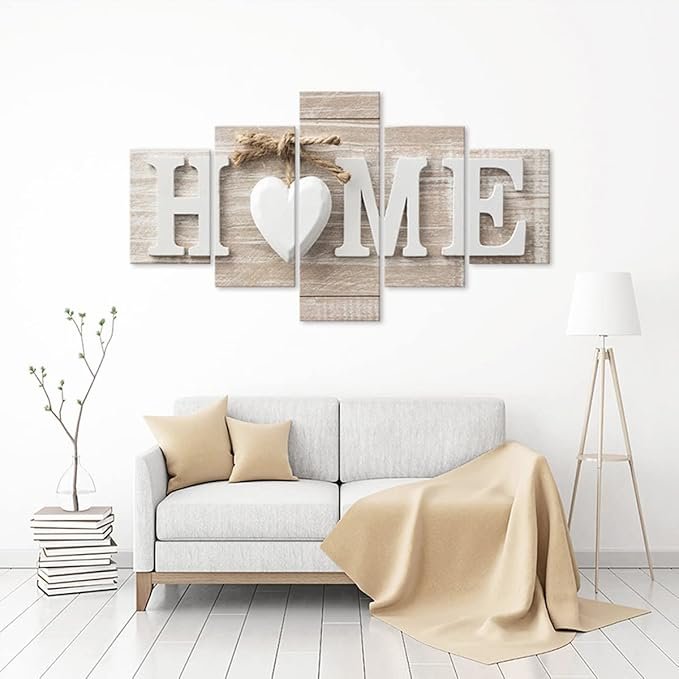
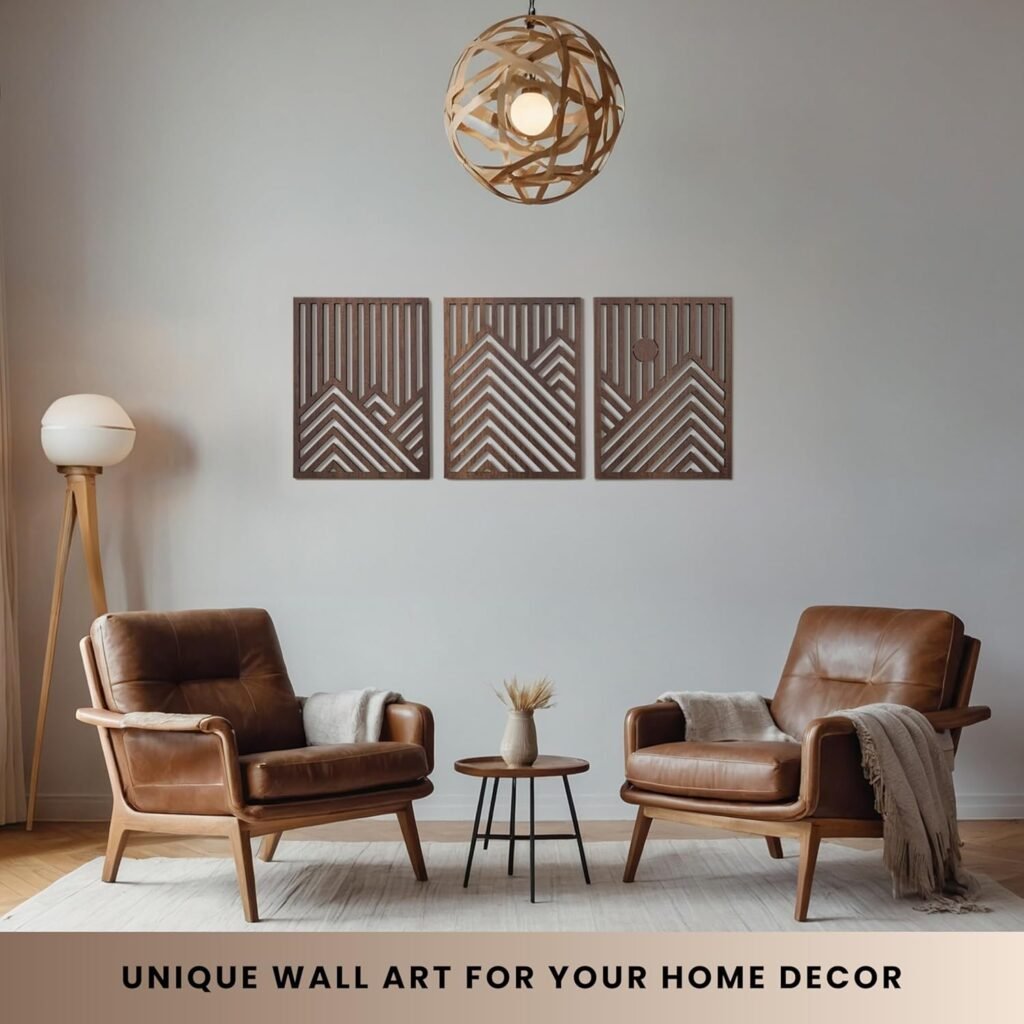
If you’re a fan of rustic decor, repurposed wood art is a fantastic DIY project that gives your living room a warm, farmhouse-inspired feel. The best part? You can often find scrap wood for free!
How to Create Repurposed Wood Art:
- Step 1: Collect old wooden pallets or scrap wood from local sources (check with hardware stores or online classifieds).
- Step 2: Sand down the wood and stain or paint it in colors that match your decor.
- Step 3: Arrange the wood pieces in a creative way—such as forming a geometric design or a word—and nail or glue them together.
You can even add a touch of greenery by attaching small planters or faux succulents to your wooden art.
What words or shapes would you want to feature in your wooden art? I love using the word “Home” because it adds that warm, welcoming touch.

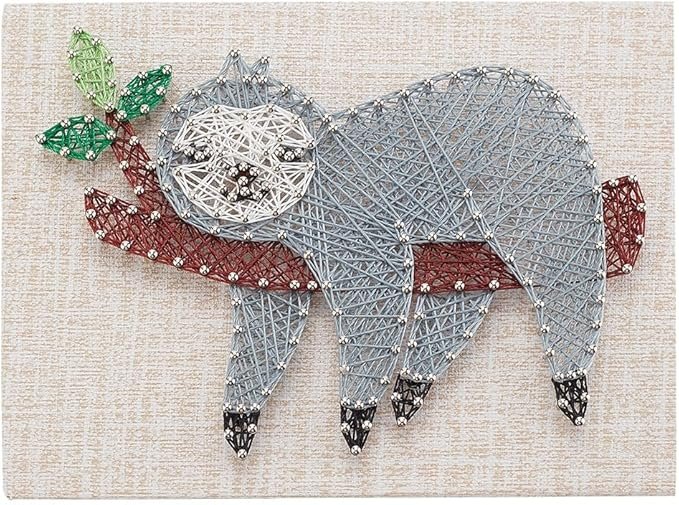
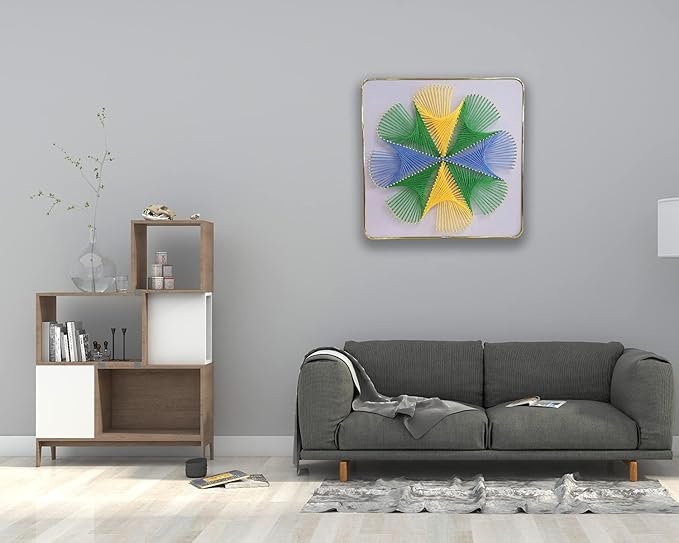
8. DIY String Art: Playful and Personalized
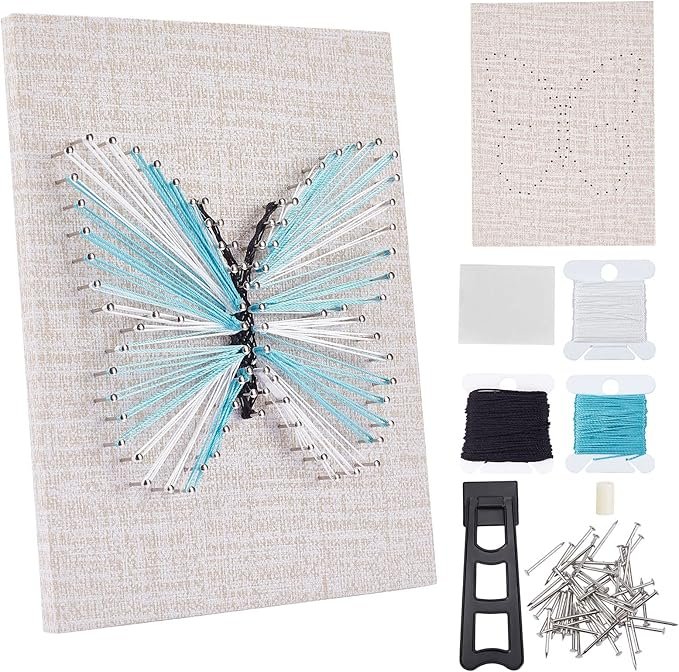
String art is an affordable way to add playful yet modern decor to your living room. It’s a great option if you’re looking for a hands-on project that allows you to customize a design or word.
Steps to Make String Art:
- Step 1: Choose a piece of wood as your base and paint or stain it in your desired color.
- Step 2: Select a design or word, like “Love” or a heart shape, and outline it lightly with a pencil on the wood.
- Step 3: Hammer small nails along the outline, leaving a small gap between each one.
- Step 4: Wrap colorful string or yarn around the nails in a crisscross pattern to fill in the shape.
String art is perfect for adding a fun, creative touch to your walls, and the best part is, it’s fully customizable to your taste.
If you were to make string art, what design would you choose? I think a simple heart design or even a silhouette of a tree would be amazing!
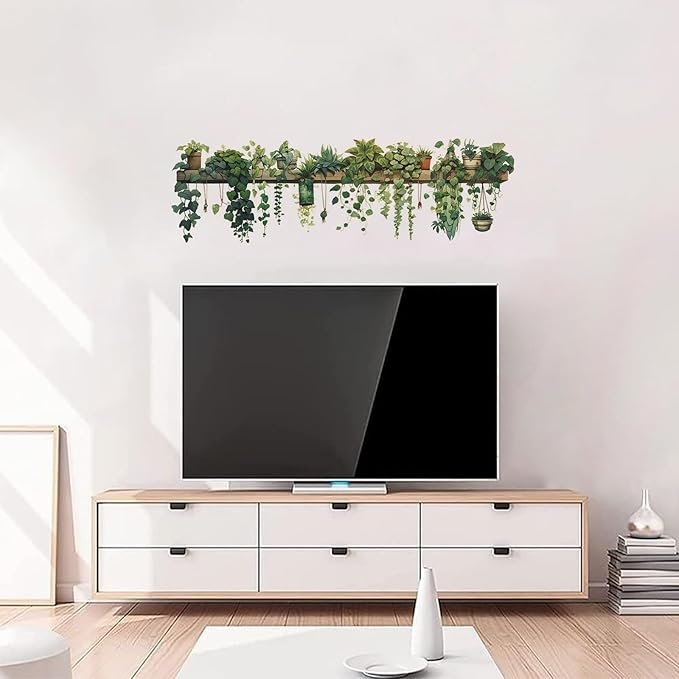
9. DIY Wall Murals: Creative and Cost-Effective
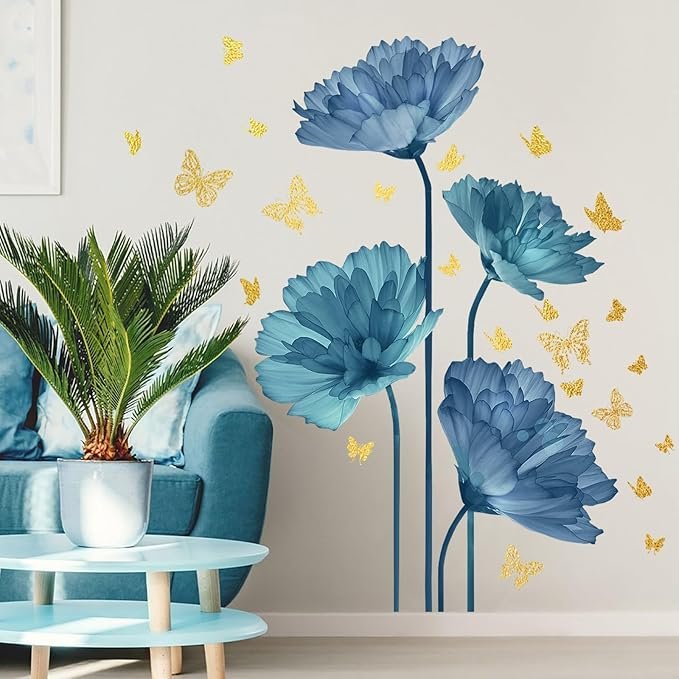
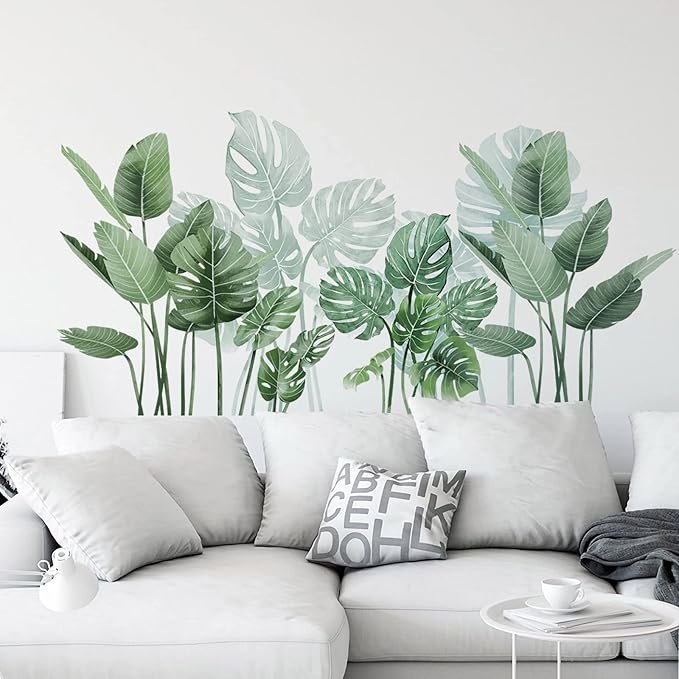
If you’re up for a bigger challenge, creating your own wall mural is a budget-friendly way to make a dramatic statement in your living room. Whether you want a full-blown mural or just an accent design, this project allows you to get creative without spending a ton of money.
How to Create Your Own Mural:
- Step 1: Choose a wall that you want to be the focal point of your room.
- Step 2: Sketch out your design using chalk or a pencil. You can go as simple or as detailed as you like.
- Step 3: Use paint or even large vinyl stickers to bring your design to life.
A mural can be as elaborate or as minimalist as you want, and it can truly transform the mood of your living space.
If you were to paint a mural, what would it depict? I’ve always thought a floral touch would look incredible, adding a sense of calm to the room.
Conclusion: Get Creative and Make It Yours
As you can see, creating beautiful DIY wall decor for your living room doesn’t have to be expensive. From painted canvas art to DIY string art, there are plenty of budget-friendly ideas that allow you to express your personal style while staying within your budget. Each project offers an opportunity to get creative and turn your living room into a space that feels uniquely yours.
Whether you’re drawn to rustic wooden designs, playful string art or modern wall stencils, there’s something here for every taste and style.
Remember, DIY decor is all about having fun and making your space reflect who you are—so don’t be afraid to try something new and experiment with different ideas.
Which of these DIY projects are you most excited to try? Let me know in the comments and feel free to share your own creative ideas—I’d love to hear what you’re planning for your living room walls!