Here is a complete step by step guide to style your living room to get better version of it. Creating custom wall art for your living room is one of the most rewarding DIY projects you can undertake. It not only allows you to infuse your personal style into your space, but it also offers a unique way to tell your story through art. Whether you’re an experienced DIYer or a beginner looking to start a new project, this guide will walk you through everything you need to know to create beautiful, custom wall art that perfectly complements your living room decor.
Why Custom Wall Art?
Have you ever walked into a store, spotted a piece of wall art and thought, “This is nice, but it’s not me?” Custom wall art is the solution to that dilemma. By creating your own pieces, you’re not just decorating your walls; you’re crafting something that resonates with your personality, taste and memories.
But before we dive into the process, let’s talk about the types of custom wall art you can create.
Types of Custom Wall Art:
- Painted Canvases
- Gallery Walls
- DIY Wall Hangings
- Framed Quotes
- Mixed Media Art
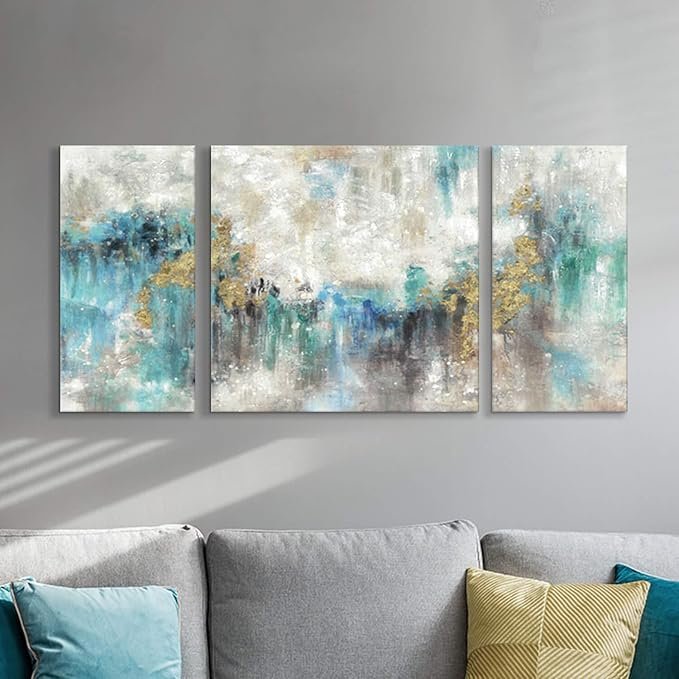
1. Painted Canvases:

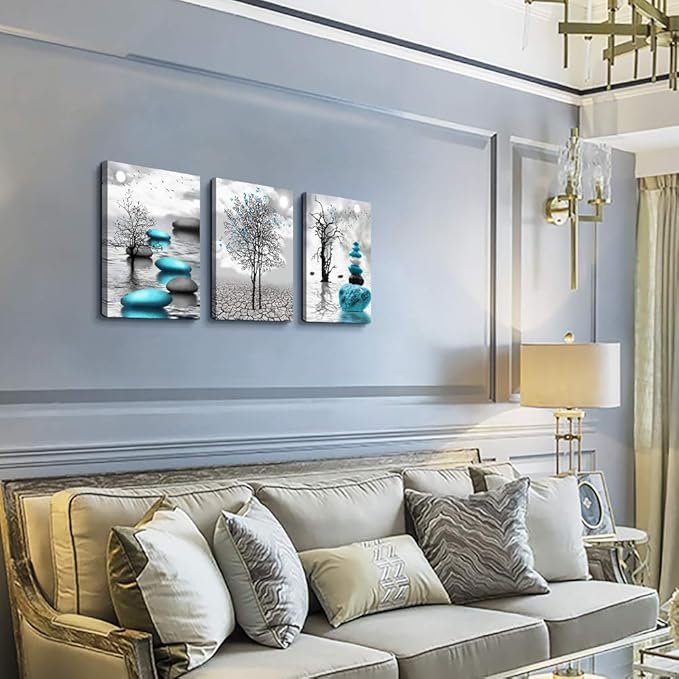

You don’t have to be Van Gogh to create a masterpiece. Simple patterns, abstract designs or even hand-painted quotes can make a big impact. And you don’t need to worry about where to buy. We have already added button for you to buy you favorite one style of canvas, so just go and grab your product and start decorating your living room….
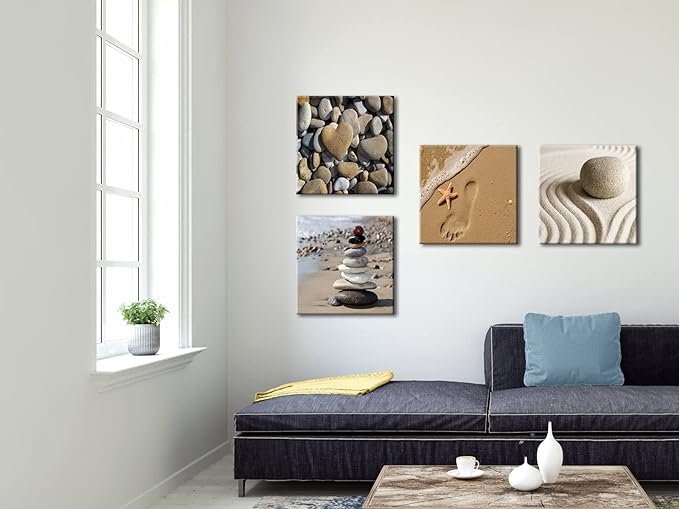
2. Gallery Walls:
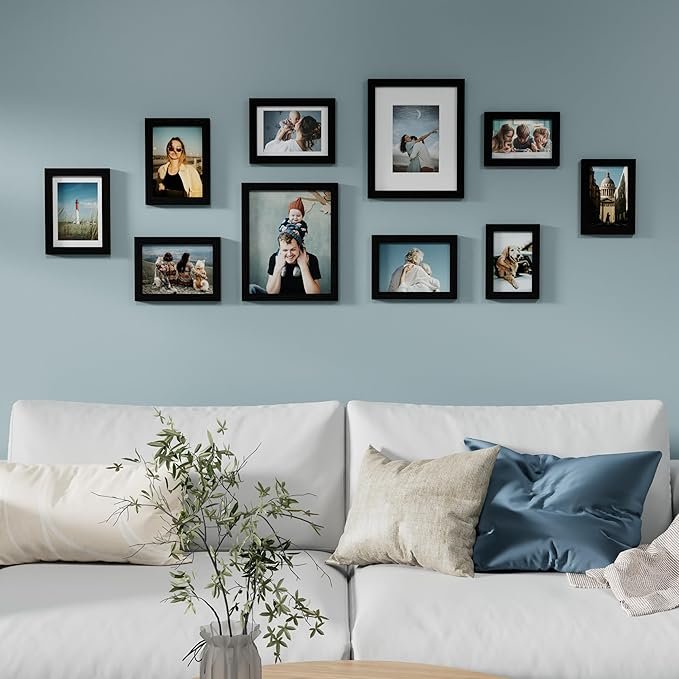
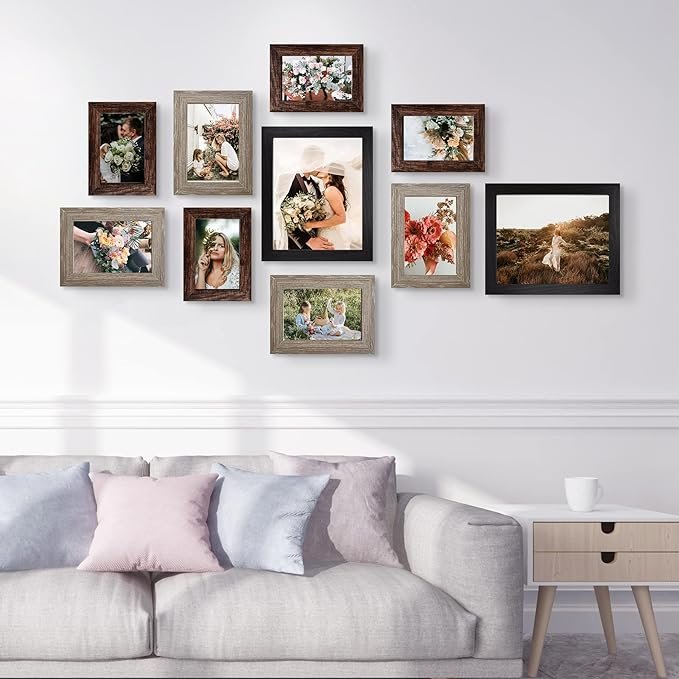
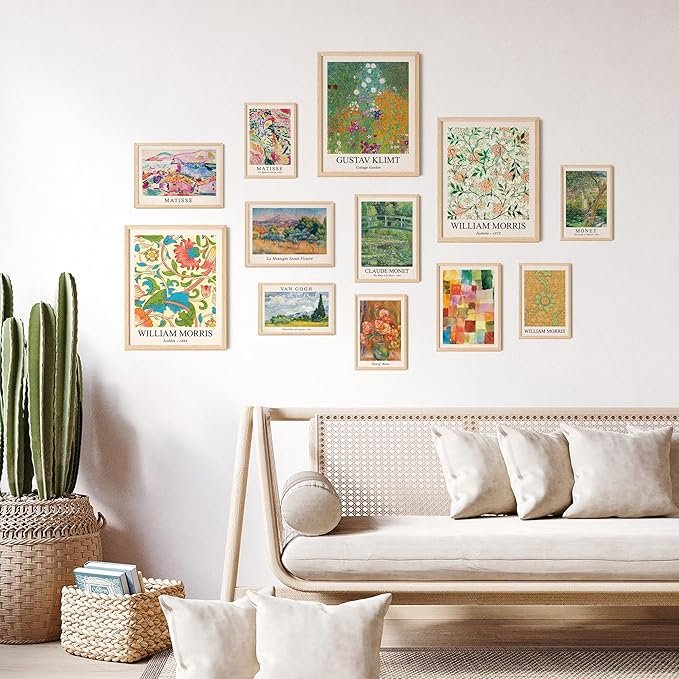
You can add a collection of photos, prints and small art pieces arranged in a creative layout.
3. DIY Wall Hangings:
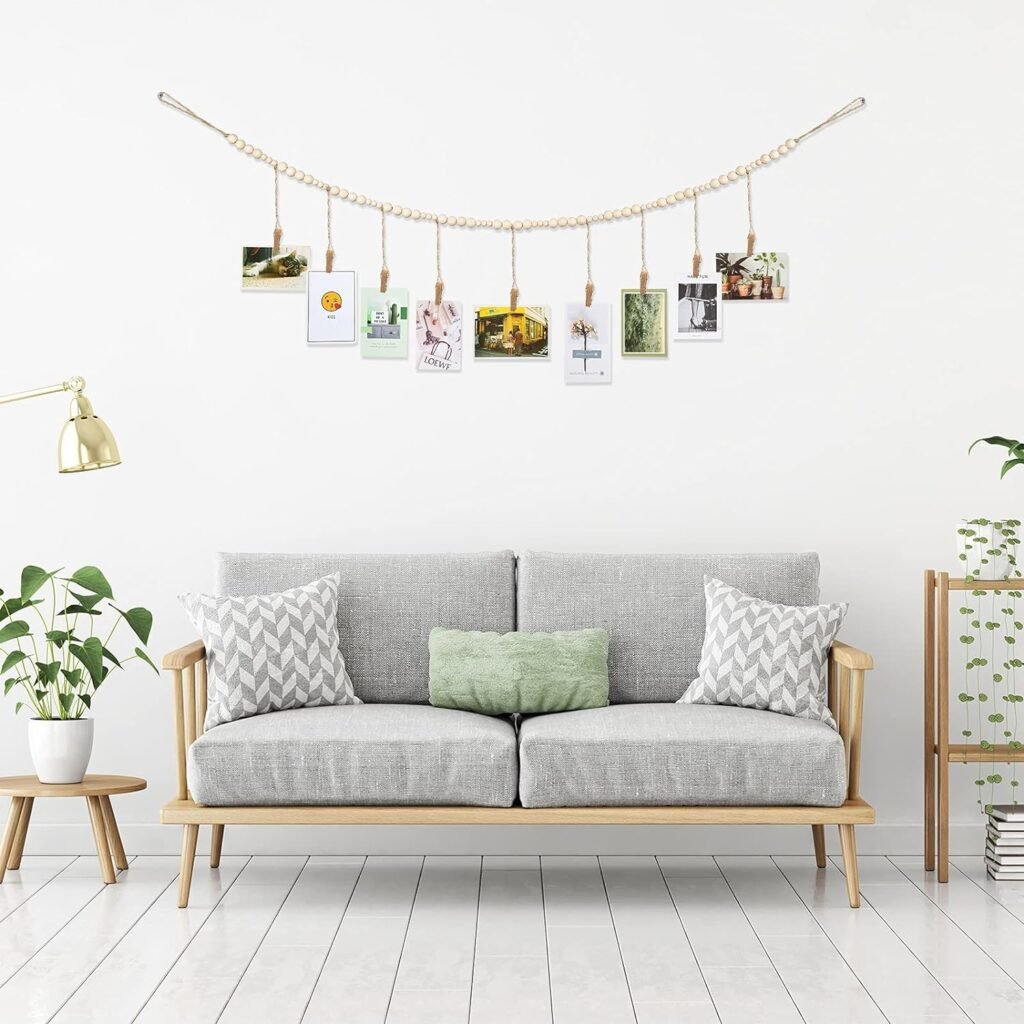
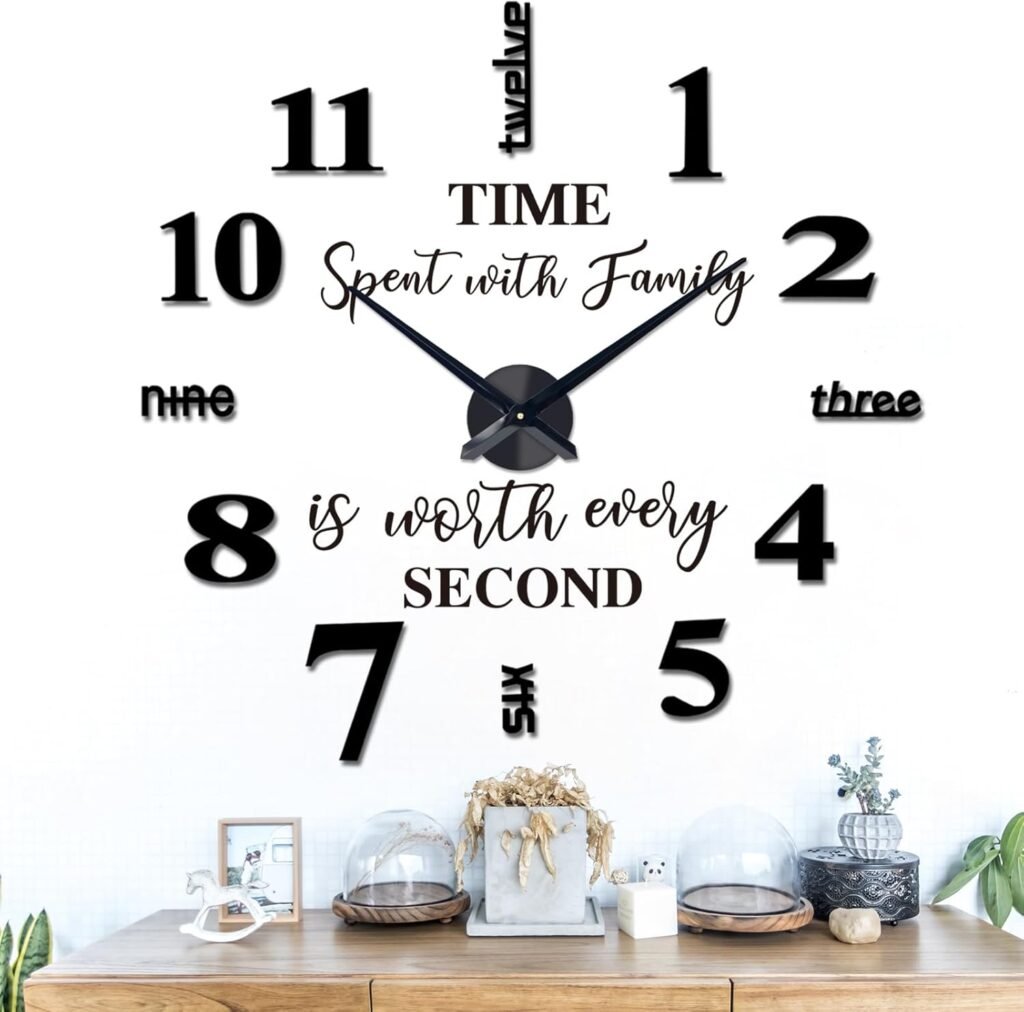
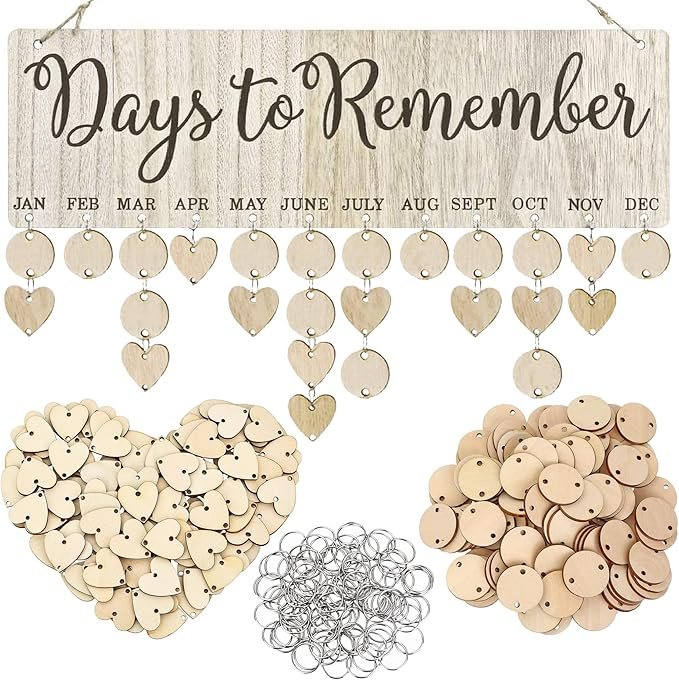
From macramé to fabric art, wall hangings add texture and warmth to your space.
4. Framed Quotes:
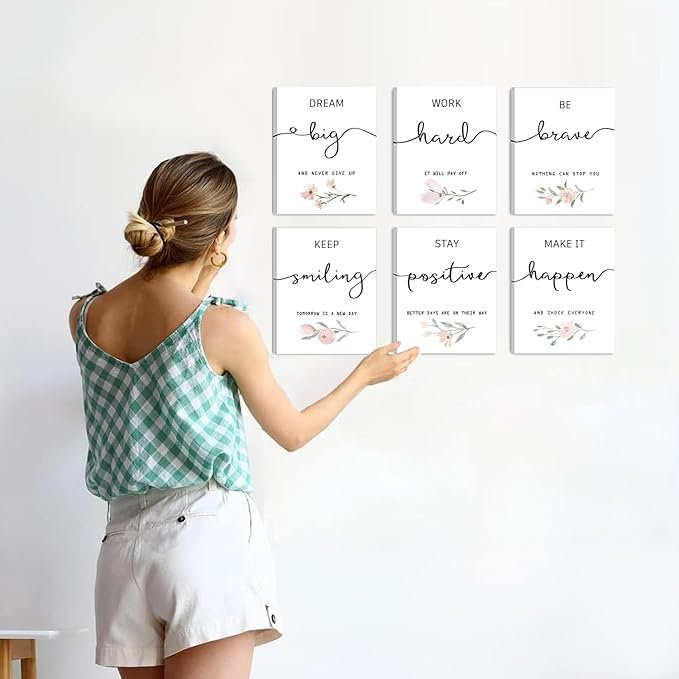

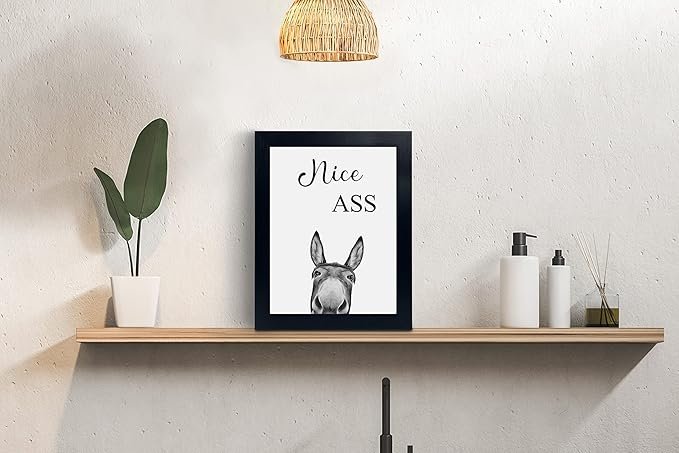
Choose words that inspire you, print them out and frame them for an elegant touch.
5. Mixed Media Art:
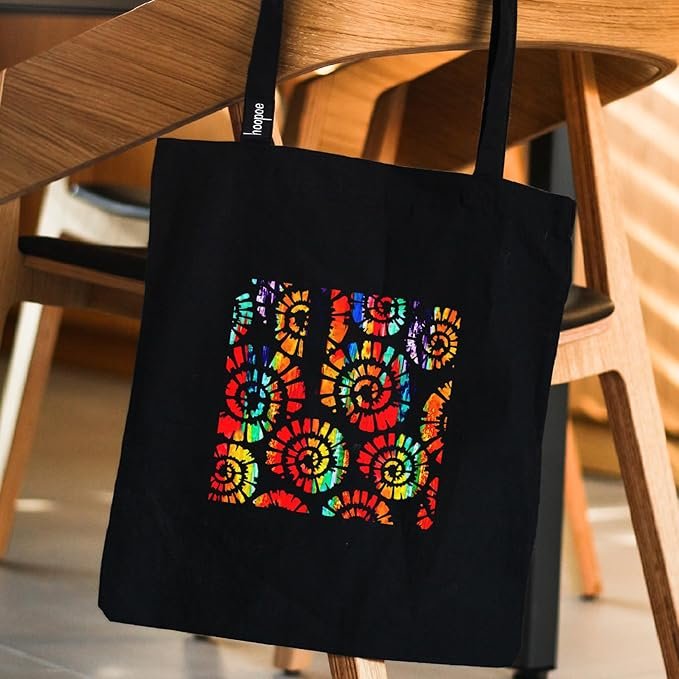
Combine various materials like wood, metal and fabric to create a one-of-a-kind piece.
Which type appeals to you the most? Or do you have something entirely different in mind? The beauty of custom wall art is that the possibilities are endless!
If none of the designs above quite match your style, no worries—let’s create one that’s uniquely yours! Start by thinking about the colors, textures and themes that you love. Whether it’s something bold and modern or soft and rustic, you can design a piece that perfectly reflects your taste. Gather your materials, sketch out your vision and then dive into the creative process. Remember, the best part of DIY wall art is that it’s all about expressing your individuality, so let your imagination guide you!
Step-by-Step Custom Wall Art Guide:
Step 1: Gathering Inspiration:
The first step in creating custom wall art is gathering inspiration. Take a look around your living room. What colors stand out? What themes or styles do you already have in place? Do you lean towards modern decor or do you prefer a more rustic, vintage look?
Consider these questions:
- What’s your favorite color palette?
- Do you have a theme in mind, like nature-inspired or minimalist?
- What’s the overall vibe you want for your living room—calm and serene or vibrant and energetic?
A great way to find inspiration is by browsing Pinterest or Instagram. Save images that catch your eye and think about how you can incorporate those ideas into your own art.
Step 2: Planning Your Design:
Once you have a clear idea of what you want, it’s time to plan your design. Sketch out your ideas on paper or use digital tools like Canva to visualize your project. Think about the size and shape of the wall art. Do you want a large piece that makes a statement or several smaller pieces that work together?
Consider these elements:
- Color Scheme: Choose colors that complement your living room decor. You can go for contrasting colors for a bold look or stick to neutral tones for something more subtle.
- Materials: What materials will you use? Canvas, wood, fabric or even recycled materials can all be great options.
- Placement: Where will you hang your art? Over the sofa, above the fireplace or on a gallery wall?
Pro Tip: Measure the wall space where your art will hang to ensure your design fits perfectly.
Step 3: Gathering Materials
Now that you’ve planned your design, it’s time to gather your materials. Depending on the type of art you’re creating, you may need:
- Canvases or wood panels
- Paints and brushes
- Fabric or yarn
- Frames
- Stencils
- Glue, scissors and other basic tools
If you’re working on a budget, consider repurposing materials you already have at home. Old frames, leftover paint, or fabric scraps can all be transformed into something beautiful.
Step 4: Creating Your Art
Here’s where the fun begins! Start by prepping your workspace. Lay down a drop cloth to protect your floors, and set up all your materials within easy reach.
For Painted Canvases:
- Begin with a base coat of paint, using a color that matches your living room decor.
- Once dry, add your design. You can use stencils for clean lines or freehand for a more organic look.
- Don’t be afraid to experiment! Layer colors, use different brush strokes or even incorporate other materials like glitter or metallic paint for extra texture.
For Gallery Walls:
- Arrange your photos, prints, and small art pieces on the floor before hanging them. This allows you to play with the layout until you find the perfect arrangement.
- Use picture-hanging strips or nails to secure your pieces to the wall. Start with the largest piece in the center, then work your way outwards.
For DIY Wall Hangings:
- If you’re creating a macramé piece, start by cutting your cords and attaching them to a wooden dowel.
- Follow a pattern, or create your own knots and designs.
- Trim any excess cords and hang your piece on the wall.
Pro Tip: Step back occasionally and view your work from a distance. This helps you see the overall effect and make any adjustments as needed.
Step 5: Adding the Finishing Touches
Once your art is complete and hung on the wall, it’s time to add the finishing touches. This might include:
- Lighting: Consider adding a spotlight or a picture light to highlight your artwork.
- Frames: If your art isn’t already framed, choose a frame that complements your piece and the rest of your living room decor.
- Decorative Accents: Add a few decorative elements like candles, vases, or plants around your artwork to enhance the overall look.
Step 6: Enjoying Your New Space
Take a moment to step back and admire your work. You’ve just created something unique that reflects your personal style and enhances your living room. How does it feel to see your vision come to life?
We’d love to hear about your experience! What was your favorite part of the process? Did you encounter any challenges along the way? Sharing your journey with others can inspire them to start their own DIY wall art projects.
Tips for Success
Before we wrap up, here are a few tips to ensure your DIY wall art project is a success:
- Take Your Time: Rushing through the process can lead to mistakes. Enjoy each step and don’t be afraid to take breaks if needed.
- Be Open to Change: Sometimes your original idea may not turn out as expected. That’s okay! Embrace the process and be willing to make adjustments along the way.
- Get Creative: Don’t limit yourself to traditional materials or techniques. Experiment with different textures, colors and styles to create something truly unique.
Final Thoughts
Creating custom wall art for your living room is more than just a DIY project; it’s an opportunity to express your creativity and make your space truly your own. Whether you’re crafting a single statement piece or designing an entire gallery wall, the effort you put into your art will pay off every time you walk into your living room and see something that you made with your own hands.
We’d love to see your finished projects! Feel free to share photos or stories about your DIY wall art in the comments below. And if you have any questions or need more inspiration, don’t hesitate to reach out. Happy crafting!