Your living room is more than just a space where you sit and relax; it’s a reflection of your personality, style and creativity. Whether you’re looking to make a bold statement or just add a touch of charm, wall hangings can completely transform the ambiance of your living room. The best part? You don’t have to spend a fortune. With a little creativity and some DIY magic, you can create stunning wall hangings that are both budget-friendly and totally unique.
In this article, we’ll explore seven DIY wall hanging ideas that will breathe new life into your living room. These ideas are not only beautiful but also easy to make, even if you’re not particularly crafty. I’ll also share some tips from my own experience, ask for your thoughts and hopefully inspire you to create something amazing. Ready to get started? Let’s dive in!
1. Macramé Wall Hanging: Boho-Chic and Beautiful
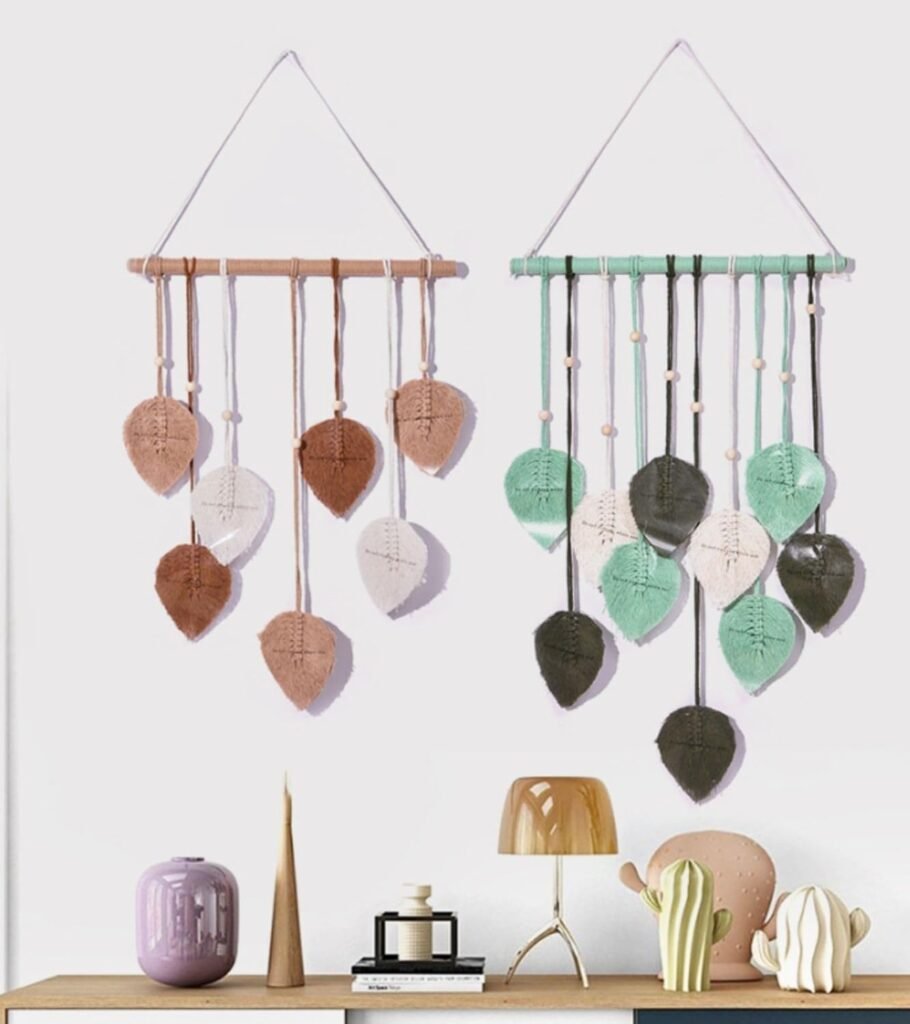
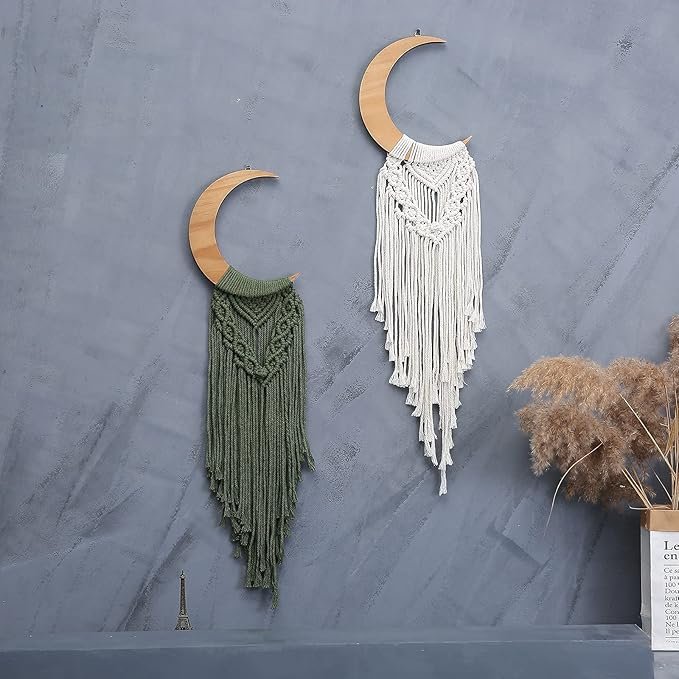
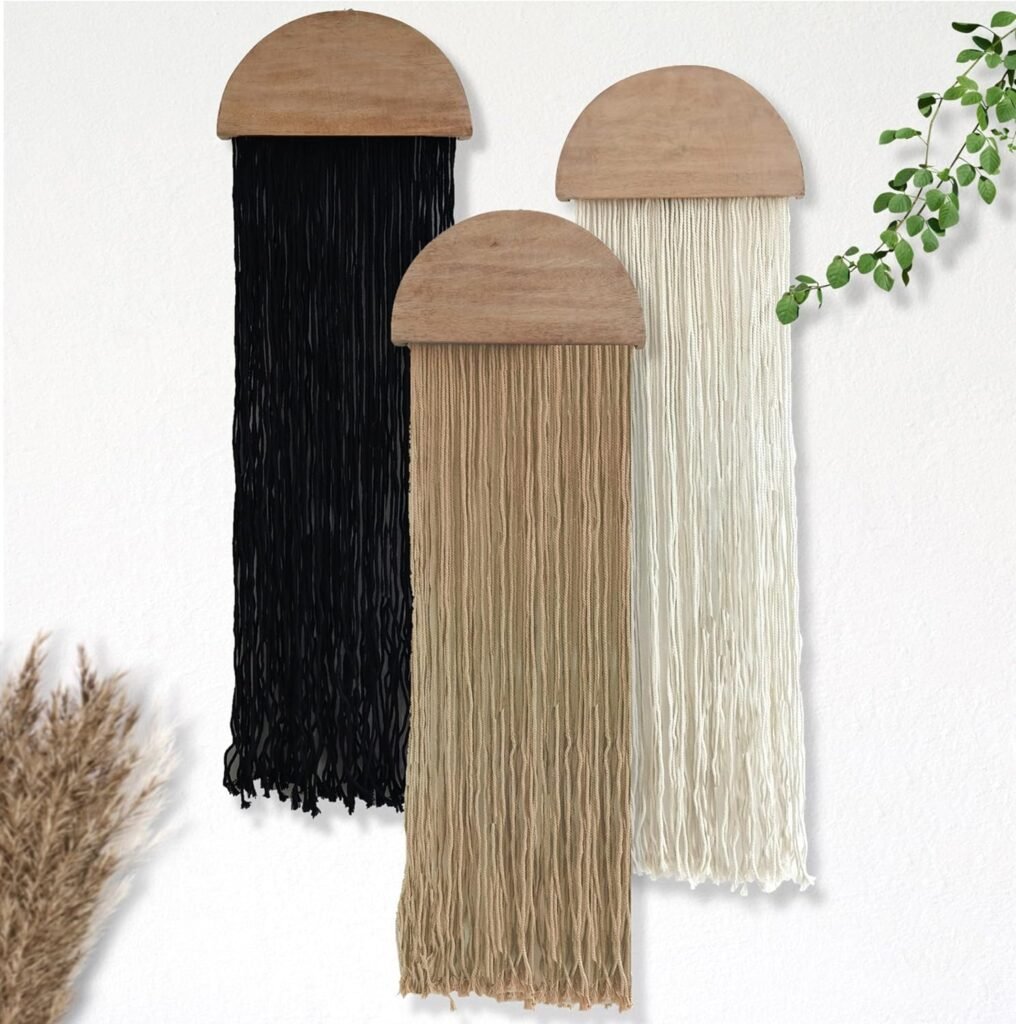
Macramé wall hangings are the epitome of bohemian decor. They add a cozy, handmade touch to your living room and can be customized to fit any space. The intricate knots and textures can make any wall pop and the best part is that you can make them yourself with just a few materials.
What You’ll Need: Macramé cord, a wooden dowel and a few hours of your time.
How to Make It:
- Start by cutting several pieces of macramé cord to your desired length. Remember, you can always trim the excess later.
- Attach the cords to your wooden dowel using a lark’s head knot.
- Begin tying square knots, alternating the cords to create different patterns. There are countless tutorials online that can guide you through the basic knots.
- Continue knotting until your design is complete. Trim the ends for a neat finish or leave them uneven for a more bohemian look.
My Experience: When I first tried making a macramé wall hanging, I was amazed at how relaxing the process was. It’s almost meditative and the end result is so rewarding. I chose a simple diamond pattern for my first piece, but you can get as intricate as you like. What pattern do you think would look best in your living room? If you’re a beginner, starting with a simple design might be a good idea.
Pro Tip: If you’re short on time, you can always buy a pre-made macramé piece and customize it with beads, dye or additional knots. It’s a great way to get that boho-chic look without spending hours on the project.
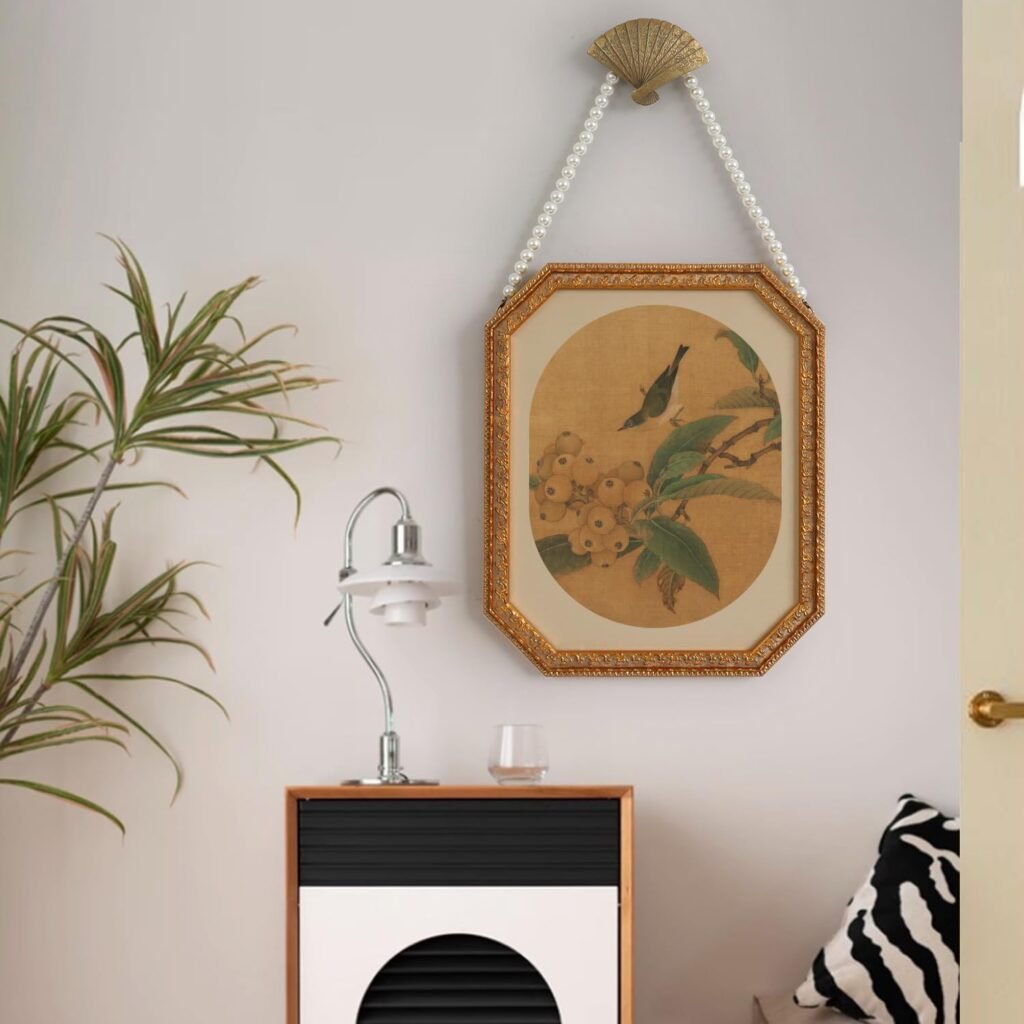
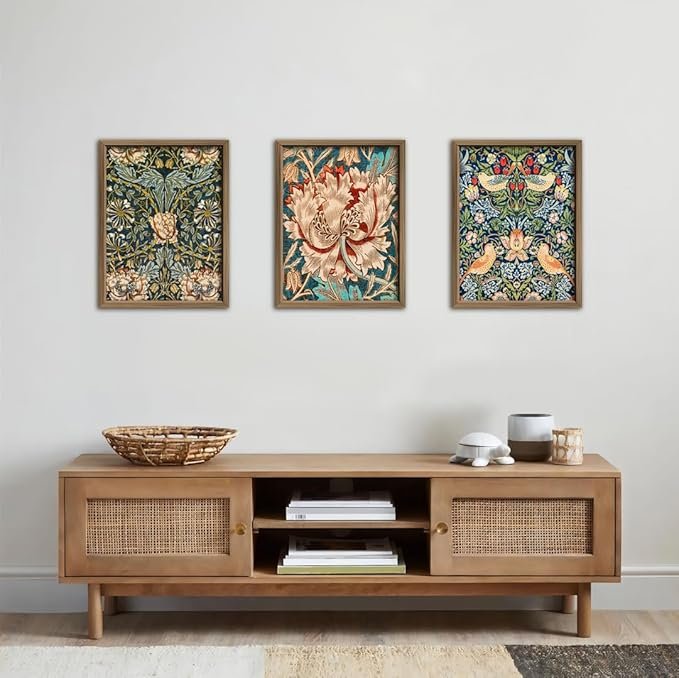
2. Framed Fabric Art: A Splash of Color and Pattern
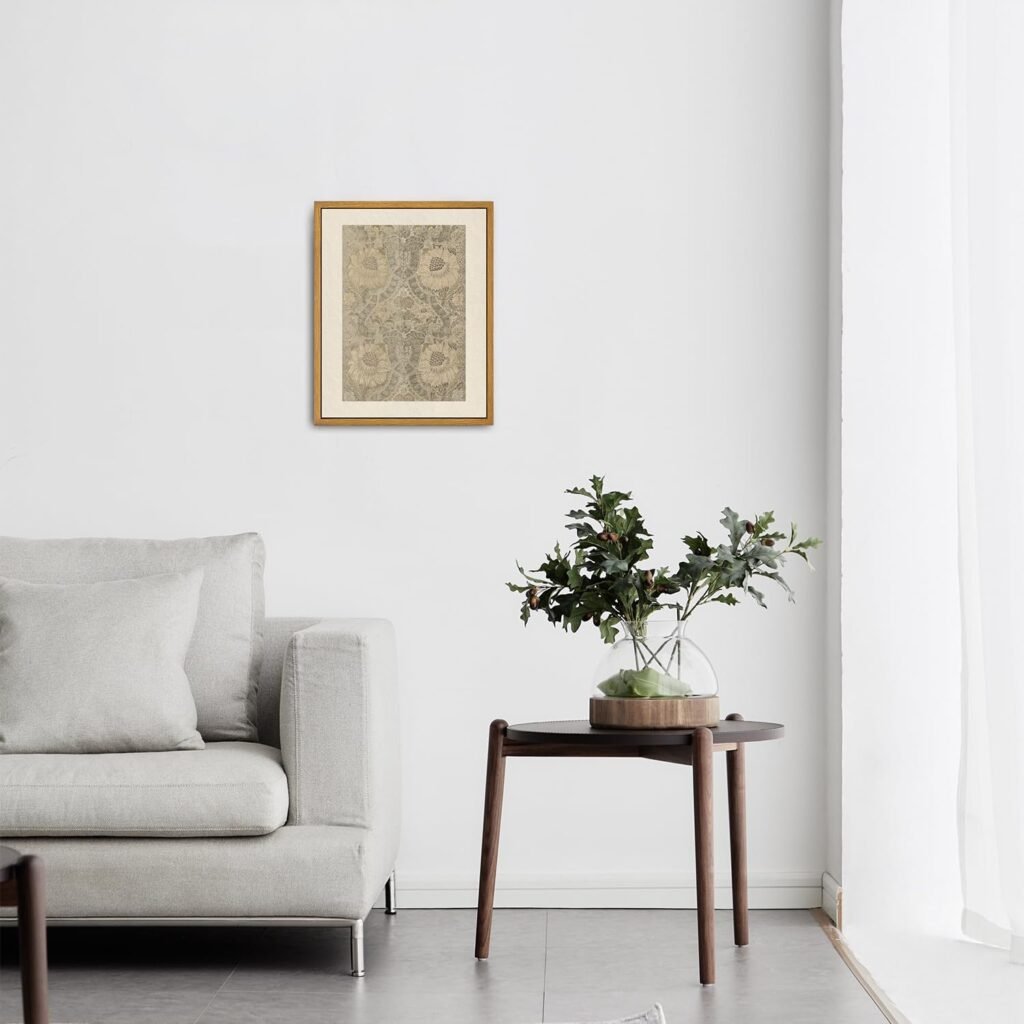
Framed fabric art is a fantastic way to add color and pattern to your living room without breaking the bank. Plus, it’s a project that’s incredibly easy to do, even if you don’t consider yourself particularly artistic.
What You’ll Need: A piece of fabric you love, a canvas or frame and a staple gun.
How to Make It:
- Choose a fabric that complements your living room’s color scheme. Bold patterns work great for making a statement, while softer, more subtle prints can add a touch of elegance.
- Stretch the fabric over a canvas or wooden frame, making sure it’s taut. Use a staple gun to secure the fabric on the back of the frame.
- Hang your new art piece on the wall and enjoy the instant transformation!
I’ve done this project several times and it’s always a hit. The key is choosing the right fabric. I once used a bright, geometric print for a modern look and another time, I opted for a vintage floral fabric to create a more traditional vibe. What kind of fabric do you think would fit your living room? Don’t be afraid to experiment—this project is so easy to redo if you change your mind later.
Pro Tip: If you want to take this project to the next level, consider creating a gallery wall with multiple pieces of framed fabric in different sizes and patterns. It’s a surefire way to create a focal point in your living room.
3. Wooden Pallet Art: Rustic Charm on a Budget
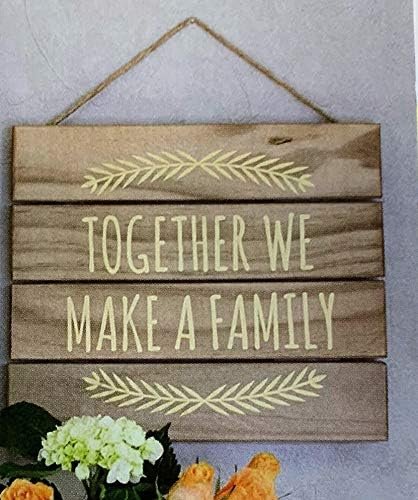
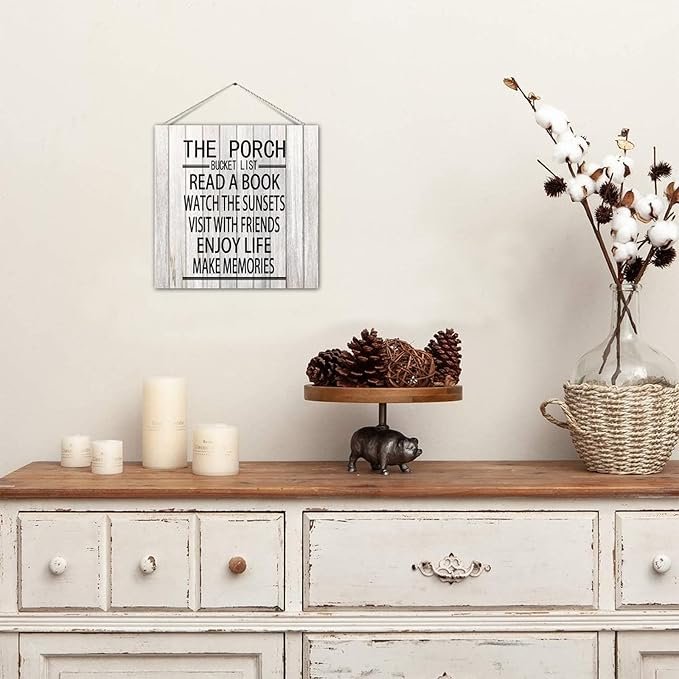
Wooden pallets are versatile, eco-friendly and perfect for creating rustic wall art. Whether you want to paint a design, create a sign or simply hang a pallet as-is, this DIY project is sure to add character to your living room.
What You’ll Need: A wooden pallet, sandpaper, paint or stain and a few hooks or nails for hanging.
How to Make It:
- Start by sanding down the pallet to remove any rough edges. You can leave the wood natural for a rustic look or stain it for a more polished finish.
- If you’re feeling artistic, paint a design or phrase onto the pallet. You can also use stencils for a more precise look.
- Once the paint or stain is dry, hang the pallet on your wall using sturdy hooks or nails.
I love the rustic charm that wooden pallets bring to a space. They’re so versatile and you can really let your creativity shine. For one project, I painted a simple quote in white on a dark-stained pallet and it became an instant conversation starter in my living room. If you’re not into painting, consider using the pallet as a base for hanging other decor items like small planters or picture frames. What would you do with a wooden pallet in your living room?
Pro Tip: If you’re having trouble finding a pallet, try looking at local hardware stores or even asking around on social media. Many places are happy to give them away for free and it’s a great way to recycle materials.

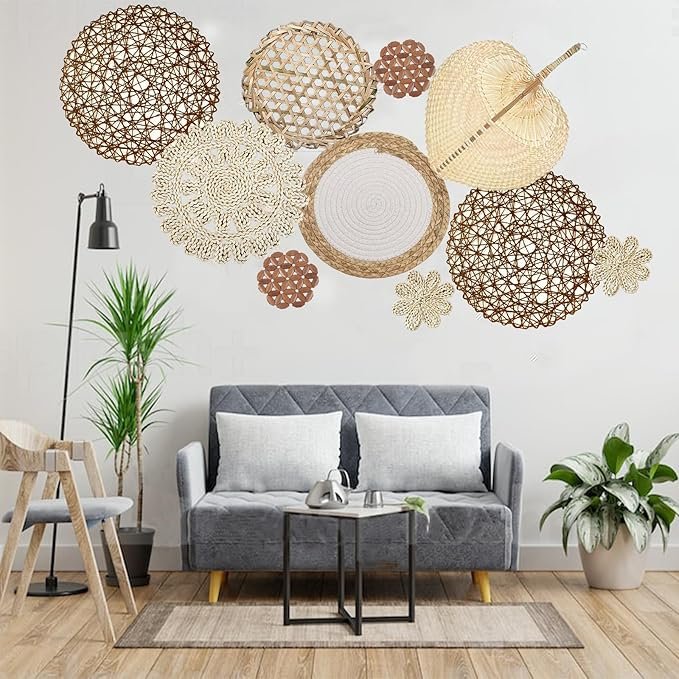
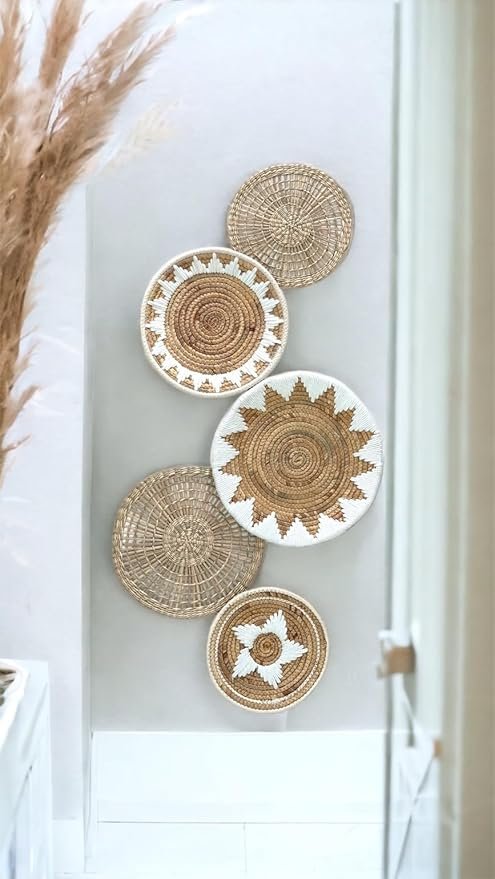
4. DIY Woven Wall Hanging: Texture and Warmth
Woven wall hangings add texture and warmth to any room, making them a perfect addition to your living room. These pieces can range from simple, minimalist designs to complex, colorful patterns, depending on your skill level and taste.
What You’ll Need: A simple weaving loom, yarn in various colors and textures and a tapestry needle.
How to Make It:
- Start by setting up your loom with warp threads. These are the vertical threads that form the base of your weaving.
- Choose your yarn and begin weaving it over and under the warp threads. You can create different patterns by changing the color and texture of the yarn.
- Once you’ve completed your design, tie off the ends and remove the weaving from the loom. You can add fringe or tassels for an extra touch.
My Experience: I’ve always found weaving to be a very relaxing hobby. There’s something so satisfying about watching your design come together row by row. For one of my projects, I used a mix of chunky wool and thin cotton yarns to create a textured, layered effect. It turned out beautifully and it’s one of my favorite pieces in my home. What kind of colors and textures do you think would look best in your living room?
Pro Tip: If you’re new to weaving, start with a small project to get the hang of it. There are plenty of kits available that include everything you need to get started and they usually come with step-by-step instructions.
5. Paper Wall Art: Creativity on a Dime
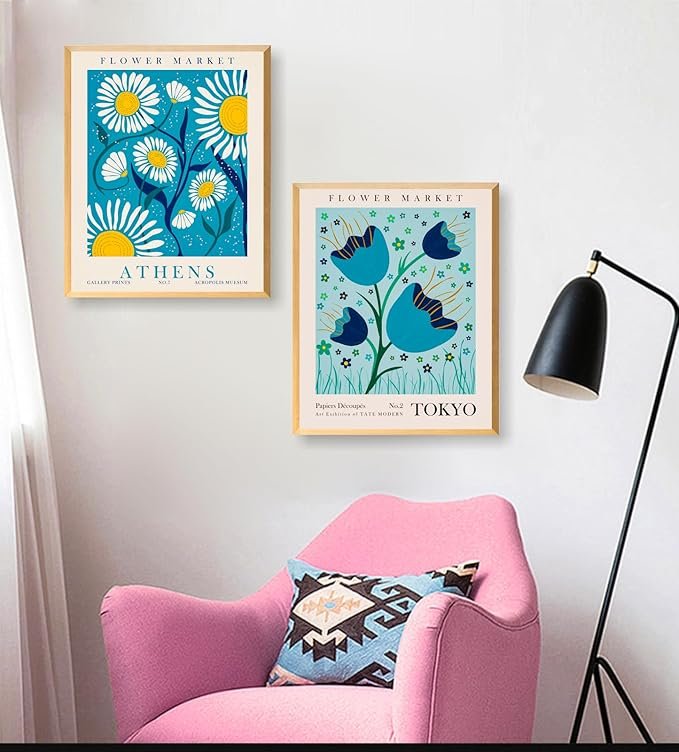
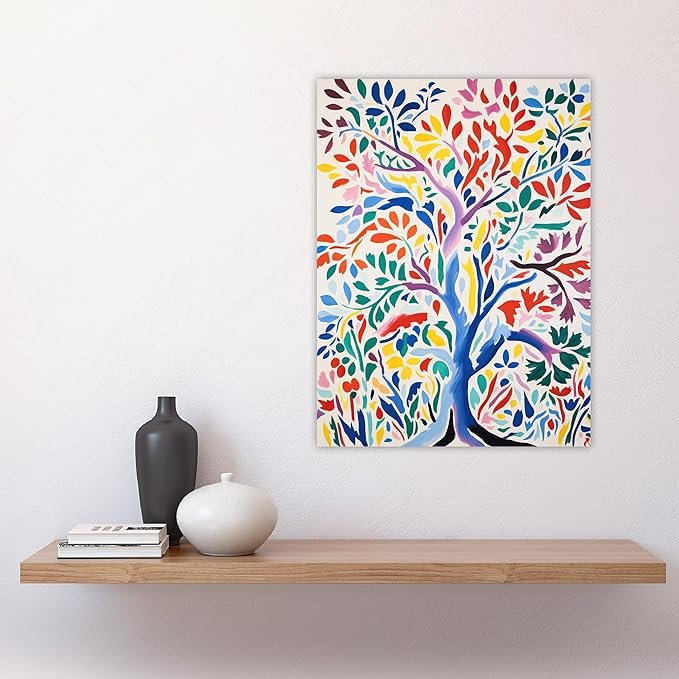
Paper might not be the first material that comes to mind when you think of wall decor, but it’s incredibly versatile and affordable. With a little creativity, you can create stunning paper wall art that looks far more expensive than it actually is.
What You’ll Need: Colored paper, scissors, glue and a frame or canvas.
How to Make It:
- Choose a design or pattern that you want to create. This could be anything from a geometric design to a more organic, freeform shape.
- Cut the paper into the desired shapes and arrange them on your canvas or frame. Play around with the layout until you’re happy with it.
- Once you’re satisfied with your design, glue the paper pieces in place and let them dry completely.
- Frame your artwork and hang it on the wall.
My Experience: I once made a series of small paper art pieces for a gallery wall and I was blown away by how elegant they looked. The key is to use high-quality paper and keep the design simple yet striking. I went with a black-and-white theme for a modern look, but you could use any colors that match your living room decor. What kind of design would you create with paper?
Pro Tip: If you want to add some dimension to your paper art, try layering the paper or folding it to create a 3D effect. It’s a simple way to make your artwork stand out even more.
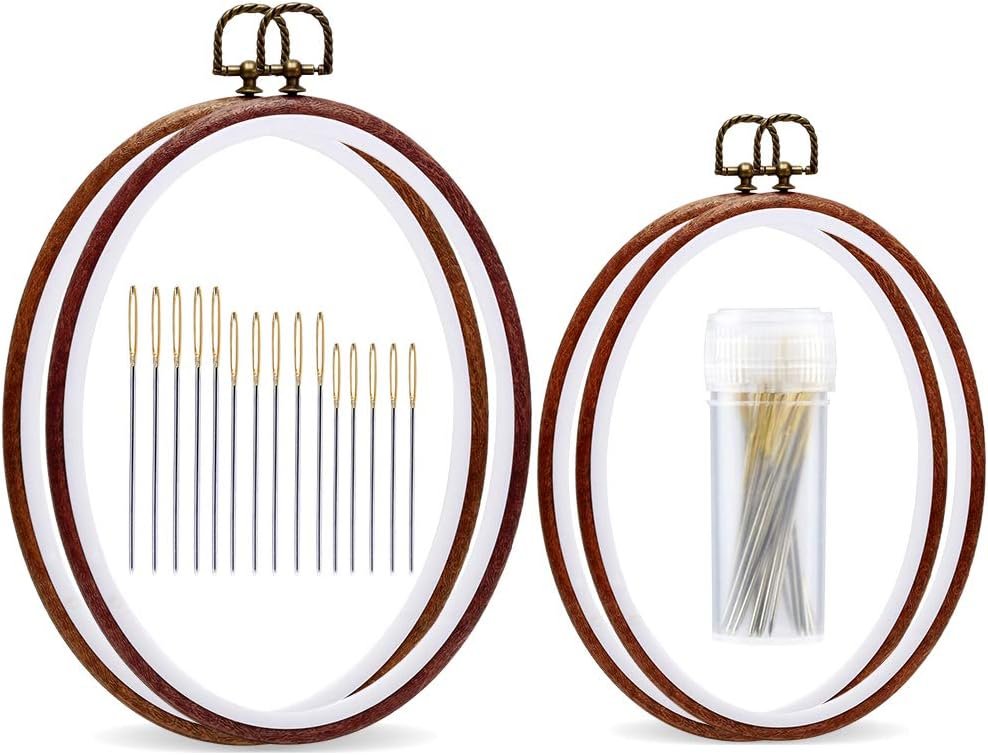
6. Embroidery Hoop Art: Vintage Charm with a Modern Twist
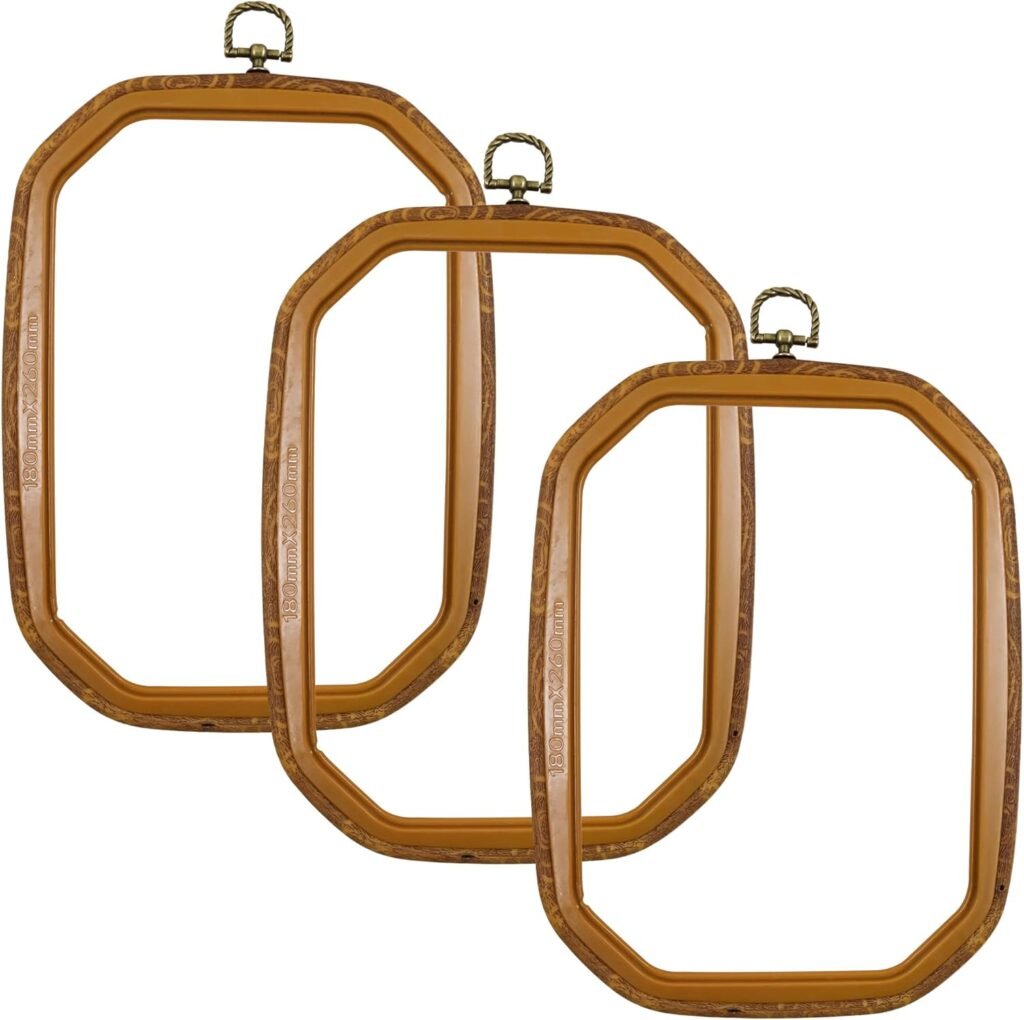
Embroidery hoop art is a fantastic way to add a touch of vintage charm to your living room. These pieces can be as simple or as detailed as you like and they’re a great way to showcase your needlework skills.
What You’ll Need: An embroidery hoop, fabric, embroidery thread and a needle.
How to Make It:
- Start by stretching your fabric tightly over the embroidery hoop and securing it in place.
- Choose a design to embroider. This could be anything from a simple monogram to a more intricate pattern.
- Begin stitching your design onto the fabric using embroidery thread. You can use different stitches to create texture and depth.
- Once your design is complete, trim the excess fabric and display your artwork on the wall.
My Experience: I’ve always loved the look of embroidery hoop art, especially when it’s displayed in a group. For one of my projects, I embroidered a series of small hoops with botanical designs and hung them together for a cohesive look. It’s such a simple yet effective way to add personality to a room. Do you have any favorite designs you’d like to try? If you’re new to embroidery, starting with a small, simple project might be a good way to practice.
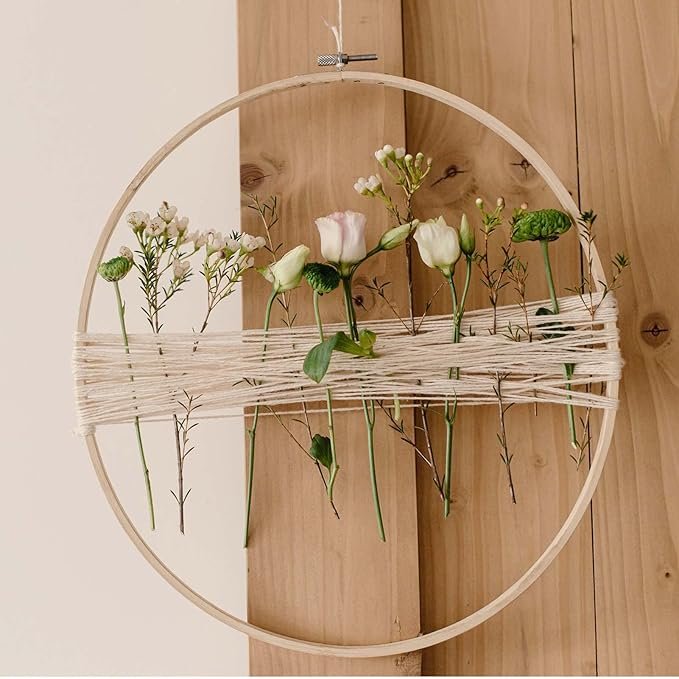
Pro Tip: If you’re not into embroidery, you can still use hoops to create wall art. Try stretching different fabrics in complementary colors and patterns over the hoops and hanging them as a set. It’s an easy, no-sew way to create a custom wall display.
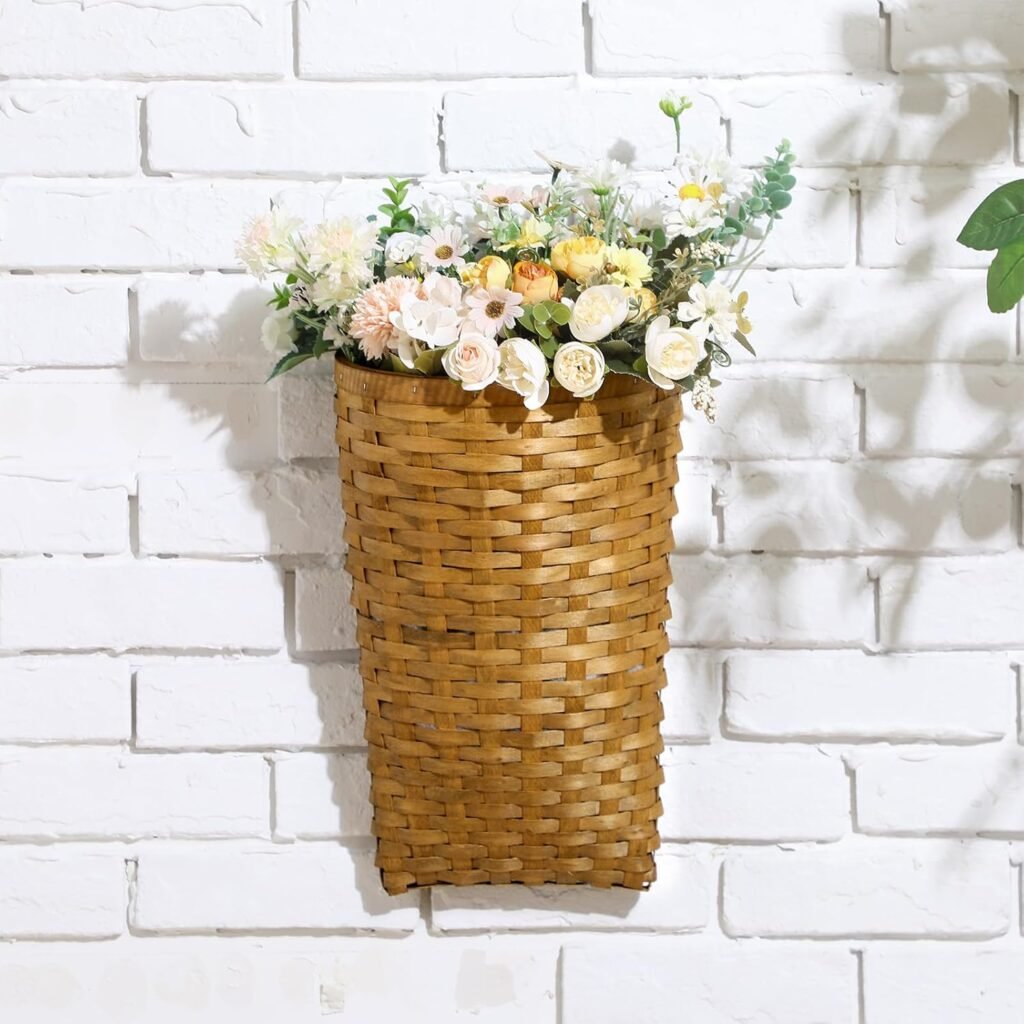
7. Hanging Planters: Bring the Outdoors In
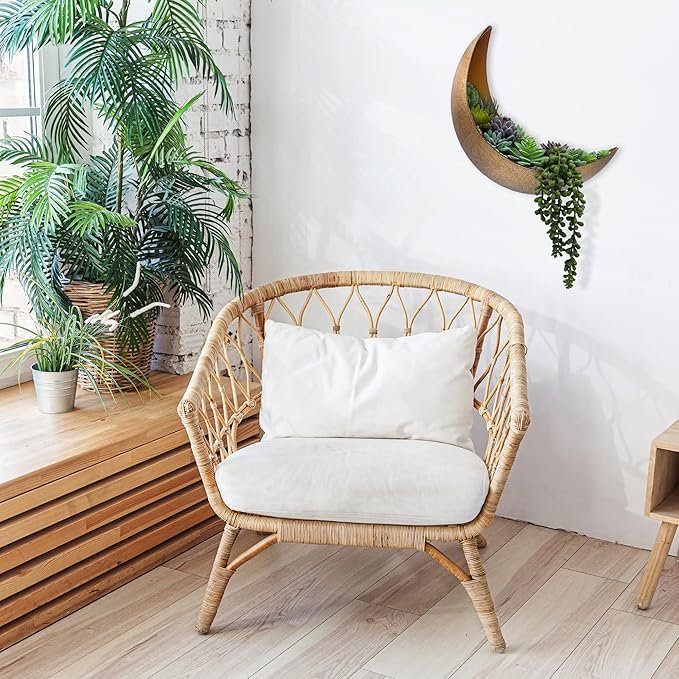
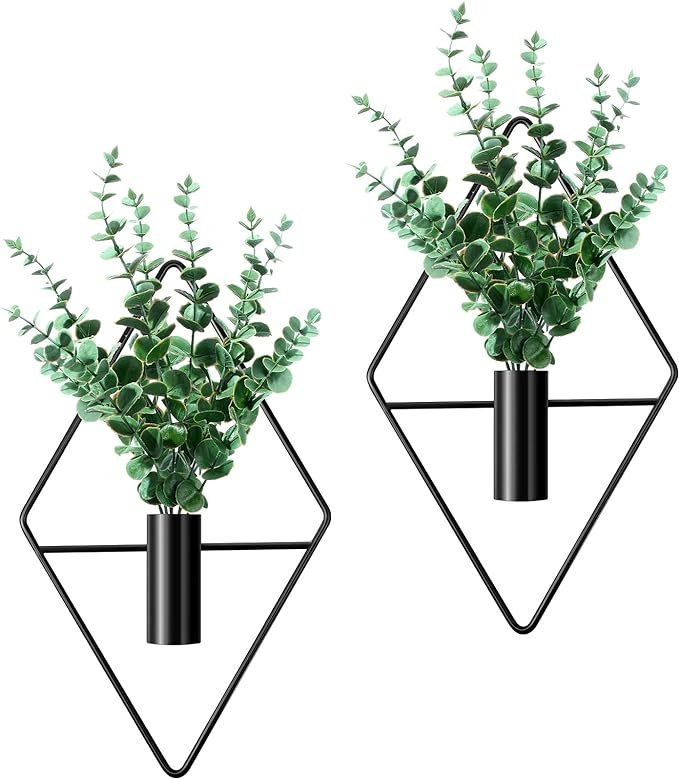
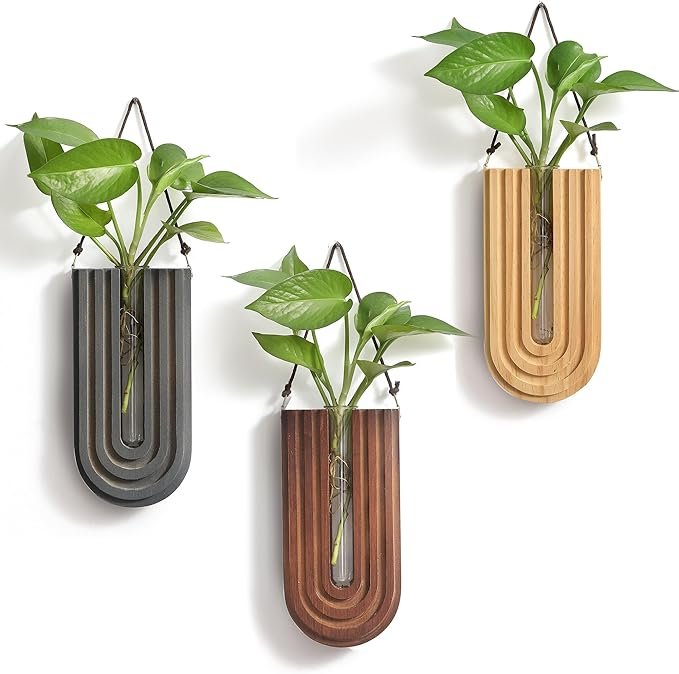
If you love the idea of adding some greenery to your living room, hanging planters are the perfect solution. Not only do they bring a touch of nature indoors, but they also add visual interest and depth to your walls.
What You’ll Need: Small pots or containers, rope or twine and your favorite indoor plants.
How to Make It:
- Choose small pots or containers that will fit your plants. You can use anything from traditional ceramic pots to repurposed jars or tins.
- Attach rope or twine to the pots to create a hanging system. Make sure the knots are secure, as the weight of the plants can be significant.
- Hang the planters at varying heights to create a dynamic display. Arrange them near a window for the best light or choose a spot where they’ll stand out as a focal point.
- Add your favorite indoor plants and enjoy the fresh, vibrant look they bring to your living room.
My Experience: I’ve always loved the look of hanging planters and they’re such an easy way to add a touch of nature to your home. I’ve experimented with different plants, from succulents to trailing vines and they all add a unique charm to the room. If you’re not sure what plants to choose, consider low-maintenance options like pothos or spider plants. What kind of greenery do you think would look best in your living room?
Pro Tip: If you’re short on space, consider creating a vertical garden with multiple small planters. It’s a great way to maximize your greenery without taking up valuable floor space.
Discussion:
There you have it—seven DIY wall hanging ideas that are sure to transform your living room into a space that’s uniquely yours. Whether you’re into the boho-chic vibe of macramé, the rustic charm of wooden pallets or the fresh feel of hanging planters, there’s something here for everyone.
As you embark on these projects, remember that the most important thing is to have fun and let your creativity shine. And don’t be afraid to make mistakes—some of the best ideas come from happy accidents! Which of these DIY wall hanging ideas are you excited to try? I’d love to hear your thoughts and see your creations. Happy decorating!